
|
|
Capturing online video
This manual describes how to capture videos from YouTube. You can also follow the same steps to capture video from other video sharing websites, webinars, sports broadcasts and any other online video.
Step 1: Launch the Screen Capture module
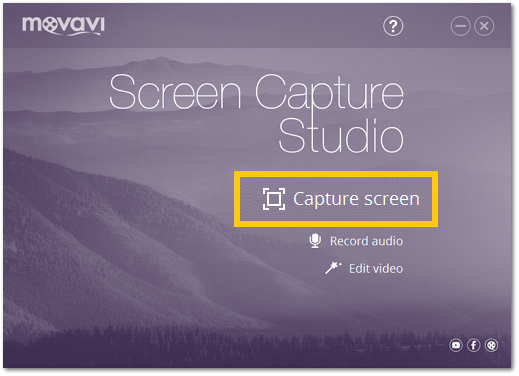
Open Movavi Screen Capture Studio and click Capture Screen to launch the screen capture module.
Step 2: Choose video quality
Many video streaming websites, including YouTube, allow you to select the quality for playing back the video. For the best results, choose the highest available video quality and, if possible, allow the video to load fully before starting capture.
Step 3: Define the capture area
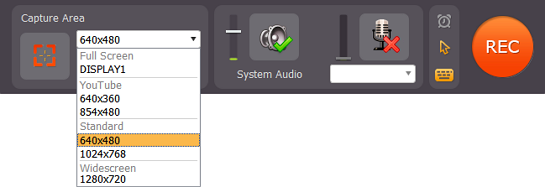
In the Select Capture Area section, open the list of pre-defined capture area sizes and choose one from the YouTube section:
640х360 – default YouTube player size
854х480 – extended theatrical mode size. You can toggle sizes by clicking the Theatrical mode  button in the YouTube player.
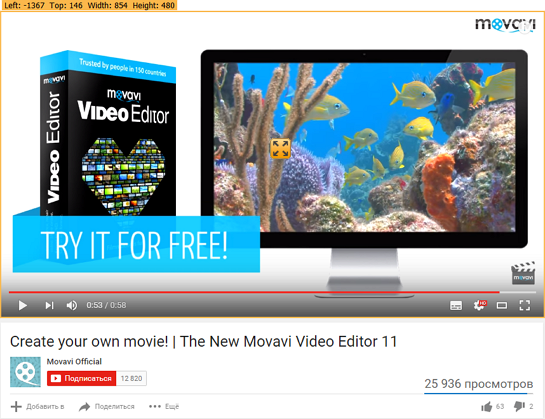
The capture area frame will be set to the selected size. Then, place the frame over the YouTube player so that the player's control panel is outside the frame by dragging the frame by the orange position icon  .
.
If you want to capture a fullscreen video, open the list of pre-defined sizes and choose the option under Fullscreen. If you have more than one monitor, you will be able to choose which one to use for capturing video.
Step 4: Choose an audio source
On the capture settings panel, click the System Sound button to enable capturing sounds from programs and your system, including the online video player.


off on
Make sure that other sound sources on your computer (for example, videos, streaming music, and ads in other browser tabs, audio players) are muted or disabled to avoid capturing unnecessary sounds. Next, to further reduce noise, we recommend that you disable capturing audio from external devices.


off on
If your computer is running Windows XP, please refer to Troubleshooting in the Recording Audio section for capturing system sounds.
Step 5: Set up mouse visibility
Click the cursor icon  to display the mouse cursor settings panel. To hide the cursor during recording, disable the Show cursor option.
Step 6: Start recording
Make sure that the window with the video player is in the foreground of your desktop. If you've selected the fullscreen capture mode, don't forget to enable fullscreen playback in the player as well. When you're ready, click the REC button or use the start capture hotkey to begin recording. The Movavi Screen Capture control panel will switch to recording mode.

During capture, you can temporarily pause the capturing process. If you're capturing in fullscreen mode, the control panel will be minimized to the system tray. In that case, you can click the Movavi Screen Capture icon in the tray to pause or stop capture, or use the hot keys.

Step 7: Save your video
To finish recording and proceed to saving your video, click the Stop button or press the F10 key (the default stop capture shortcut, your keyboard shortcut settings may be different). The player window will appear.
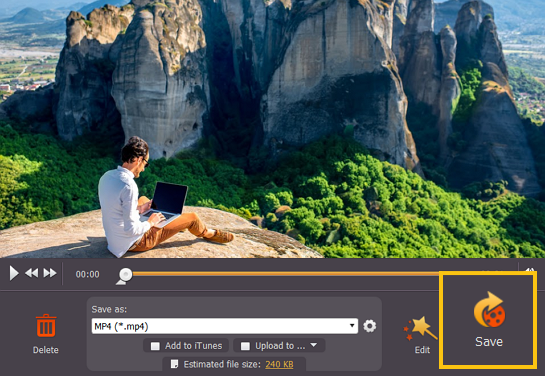
In the Save as list, choose a format you'd like to save the video in and click Save. Your video will be ready in a few minutes.
