|
|
Saving presets
If you find a combination of adjustments that works best for your pictures, you can save it for later use.
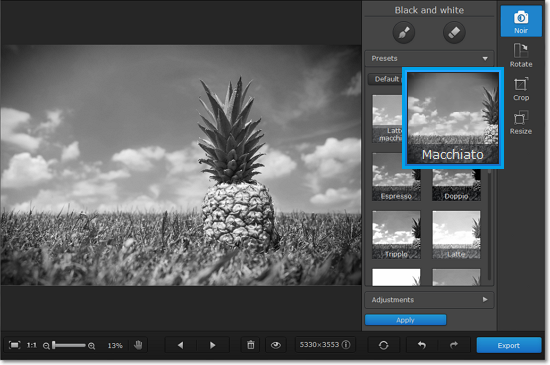
Step 1: Choose an existing preset
Under Presets, choose one of the black-and-white filters. This will be the base for your new preset.
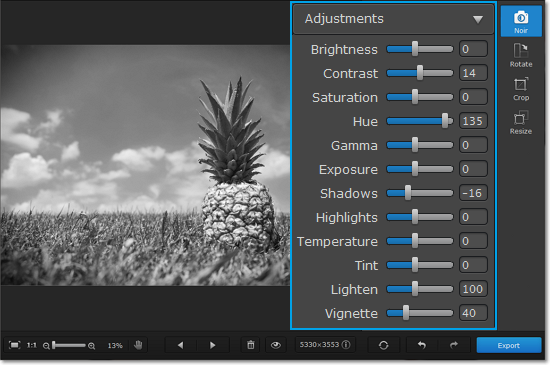
Step 2: Modify adjustments
1. Click the Adjustments button to see the fine adjustment options.
2. Use the sliders to reach the desired effect.
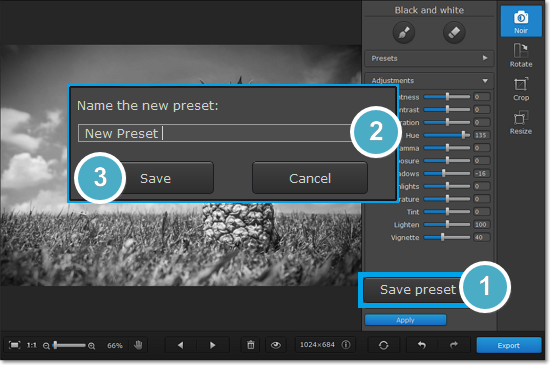
Step 3: Save preset
1. At the bottom of the Adjustments section, click Save preset.
2. A dialog box will appear. Enter a name for the new preset.
3. Click Save.
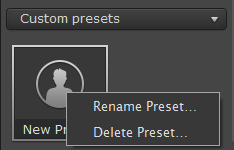
That's it! Your new preset will appear under Presets > Custom presets.
Renaming custom presets
1. Open the list of Custom presets.
2. Right-click the preset that you want to edit and choose Rename Preset.
3. A dialog box will open. Enter a new name for the preset and click Save.
Deleting custom presets
1. Open the list of Custom presets.
2. Right-click the preset that you want to edit and choose Delete Preset.
3. Click Yes in the dialog box to confirm deleting the preset.