
|
|
Removing Noise
Digital noise is random variations of brightness or color on the image. Most often, noise appears on photos taken in low-light conditions. While you can take certain measures to take pictures with less noise, you can also easily remove or reduce noise after taking the picture.
Quick photography tips
-
Use better lighting. No matter what camera you use, your pictures will be clearer if you take them in bright daylight.
-
Don't use digital zoom. Unlike optical zoom, it yields poor image quality. Instead, crop the image afterwards.
-
Know your camera. Set lower ISO and higher exposure for low-light photos.
Step 1: Open the Denoise tab
Click the Denoise button on the sidebar to open noise reduction options.
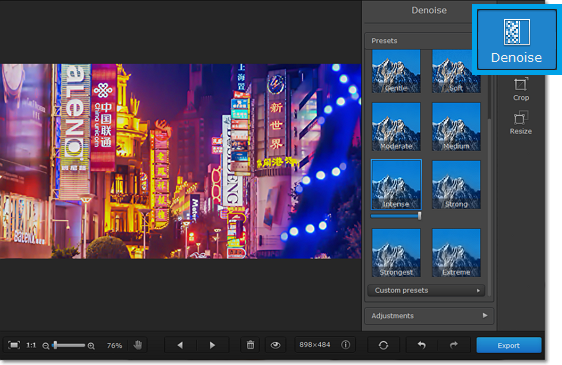
Step 2: Choose a preset
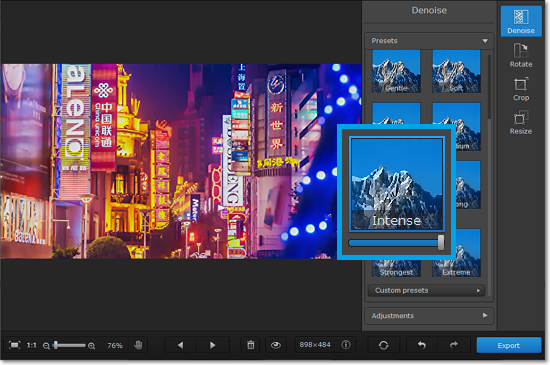
1. Under Presets, choose one of the premade noise removal modes. Each has a different strength and noise removal method. Try a few to see which one works best for your specific image.
2. Once you've enabled a preset, a slider will appear under it. Use this slider to change the intensity of the selected preset, blending the output image with the original.
Step 3: Use fine adjustments
1. Click the Adjustments button to see fine adjustment options for the selected preset.
2. Use the sliders to further improve your photo.
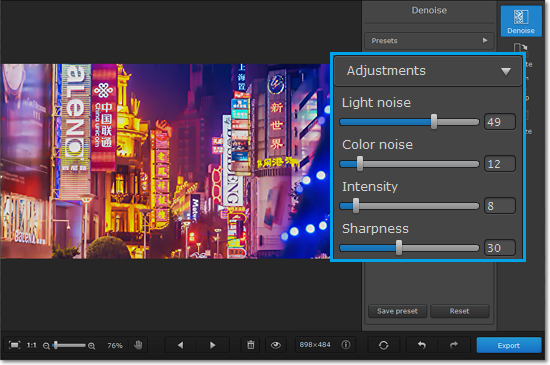
Light noise: use this to compensate for variations in brightness (Luminance or contrast noise).
Color noise: use this to compensate for random specks of color (Chroma noise).
Intensity: for some presets, you can modify the strength of the noise removal algorythm.
Sharpness: use this to return some detail to the image if it looks too smooth.
* Please note that very high values may cause distortions.
That's it! Don't forget to save your image without noise!
