
|
|
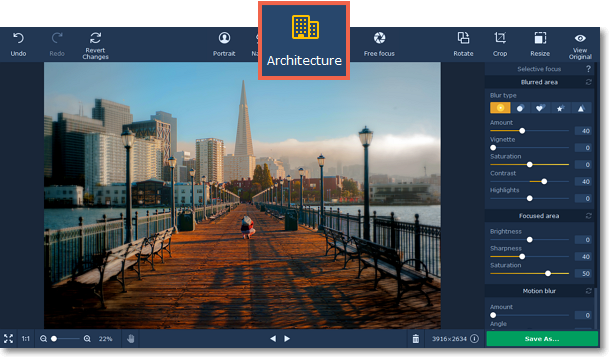
Architecture focus
Step 1: Choose Architecture mode
Click the Architecture button on the sidebar to open the architecture focus options.
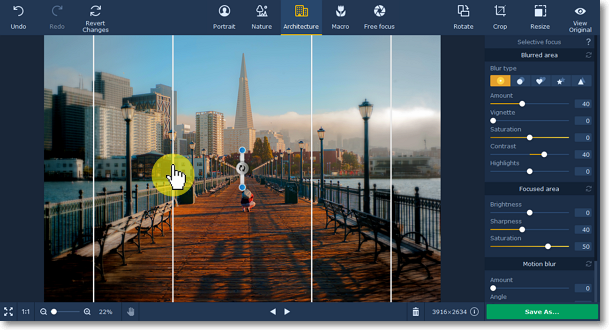
Step 2: Place the focus point
Hover your mouse pointer over the photo. Four vertical lines will appear over the image. The inner rectangle marks the focused area, while the outer rectangle marks the blurred area. Place the inner rectangle over the main object of the photo and set the size so that the areas that should be in focus fit inside the smaller rectangle.
-
Drag the rectangles to shift the main focus.
-
Drag the lines up or down to change the size of rectangles.
-
Drag the blue key points to rotate the focus area.
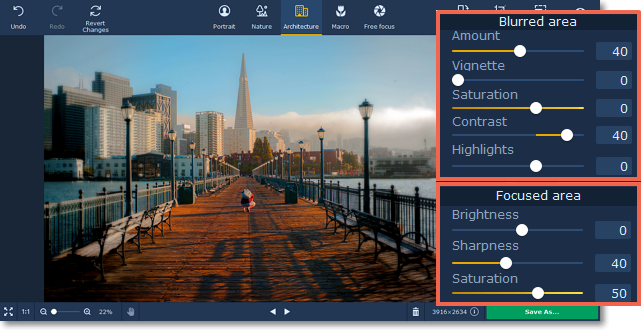
Step 3: Adjust the focus effect
Use the sliders in the Selective focus tab to adjust the colors of the blurred and focused areas.
Blurred area:
Using these buttons on the right panel, you can choose the blur type and add light leaks to your photo:
|
|
— classic blur
|
|
|
— bokeh blur
|
|
|
— heart bokeh blur
|
|
|
— star bokeh blur
|
|
|
— triangle bokeh blur
|
These sliders modify the appearance of the parts that are out of focus:
Amount: defines the strength of the blur effect.
Vignette: defines how much the edges of the image should be darkened.
Saturation: defines how colorful the blurred area should be. 0 is the original saturation, while -100 is grayscale.
Contrast: defines how visible the color difference should be.
Highlights: use to darken or lighten the light parts of the image.
If you choose any blur type except classic, you will be also be able to set the following parameters:
Size: defines the size of the light shapes.
Sensitivity: defines how bright areas on the photo should be to have light leaks.
Opacity: defines the transparency of the light shapes.
Focused area:
These sliders modify the appearance of the parts that are in focus:
Brightness: defines how bright the areas in focus should be. For portraits, it can help to highlight the person's face.
Sharpness: the amount of definition inside the focused area. On some images, noise may appear on very high values.
Saturation: defines how colorful the focused area should be. 0 is the original saturation, while -100 makes it grayscale.
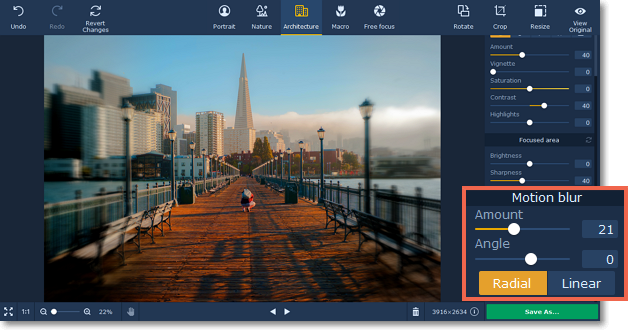
You can also add radial or linear motion blur using the buttons in the bottom of the right panel. Adjust the amount of blur and the angle using the Amount and Angle sliders.
See also:
