
|
|
Macro focus
Marco - is close-up type of photography, usually of very small subjects. It is often used for taking photos of flowers, insects and other small things. Most macro photos have extreme sharpness on an object while the rest of a photo is blurred. Sometimes similar effect is used on huge objects like buildings, shot from a certain angle. Achieving the this effect is often impossible without a lot of photo experience and expensive gear.
Luckily, you can edit your macro photos to bring out the best in small objects and create a tilt-shift effect.
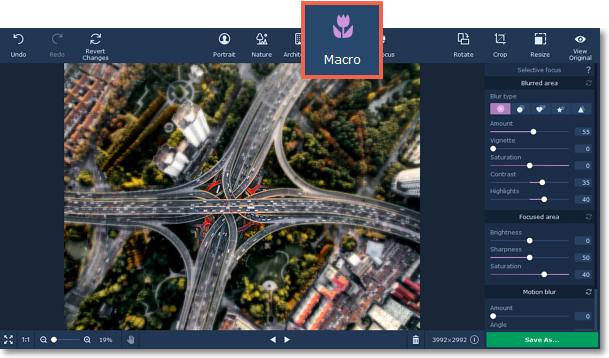
Step 1: Open the Macro tab
At the top of the Selective focus tab, click the flower icon to choose Macro.
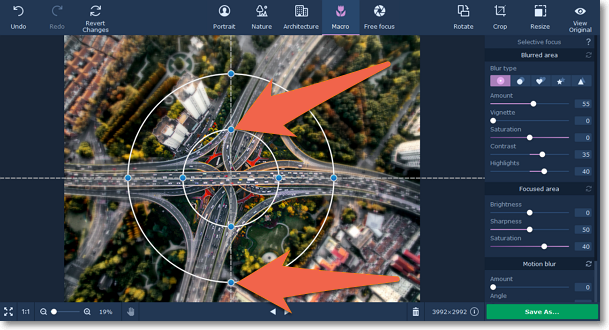
Step 2: Place the focus point
Hover your mouse pointer over the photo. A crosshair will appear over the image. Place the inner circle over the macro object in the photo to emphasize it. Then, use the crosshair controls to create the blur effect you need:
-
Drag the crosshair to shift the main focus.
-
Drag the blue key points on the crosshair to change its size and shape.
-
Drag the circles inwards or outwards to change their radius.
-
Drag the dotted lines clockwise or counterclockwise to rotate the focus crosshair.
-
The inner circle of the crosshair marks the focused area, while the outer circle marks the blurred area.
-
The distance between the circles affects the transition between sharp and blurred parts: the larger the distance, the smoother this transition will be.
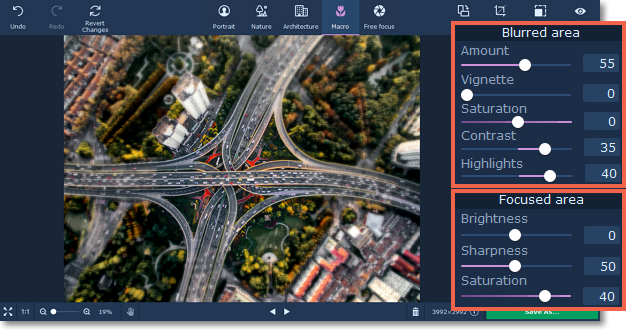
Step 3: Adjust the focus effect
Use the sliders in the Selective focus tab to adjust the colors of the blurred and focused areas. Higher sharpness and highlights for the focused area often work well for macro photos. Experiment with the color controls until you find what's right for your picture.
Blurred area:
Using these buttons on the right panel, you can choose the blur type and add light leaks to your photo:
|
|
— classic blur
|
|
|
— bokeh blur
|
|
|
— heart bokeh blur
|
|
|
— star bokeh blur
|
|
|
— triangle bokeh blur
|
These sliders modify the appearance of the parts that are out of focus.
Amount: defines the strength of the blur effect.
Vignette: defines how much the edges of the image should be darkened.
Saturation: defines how colorful the blurred area should be. 0 is the original saturation, while -100 makes it grayscale.
Contrast: defines how visible the color difference should be.
Highlights: use to arken or lighten the light parts of the image.
If you choose any blur type except classic, you will be also be able to set the following parameters:
Size: defines the size of the light shapes.
Sensitivity: defines how bright areas on the photo should be to have light leaks.
Opacity: defines the transparency of the light shapes.
Focused area:
These sliders modify the appearance of the parts that are in focus.
Brightness: defines how bright the areas in focus should be. For portraits, it can help to highlight the person's face.
Sharpness: the amount of definition inside the focused area. On some images, noise may appear on very high values.
Saturation: defines how colorful the focused area should be. 0 is the original saturation, while -100 makes it grayscale.
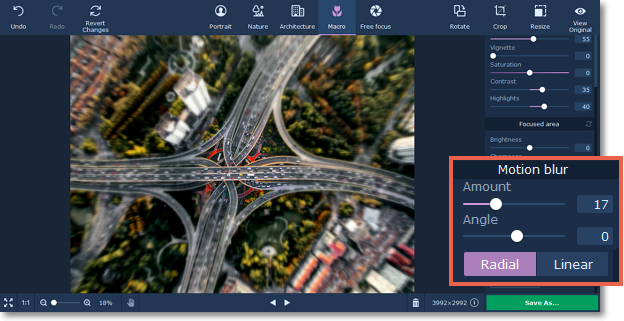
You can also add radial or linear motion blur using the buttons in the bottom of the right panel. Adjust the amount of blur and the angle using the Amount and Angle sliders.
See also:
