
|
|
Adding a timer
Step 1: Open the Titles tab
Click the Titles button on the left sidebar to open the list of available text styles.
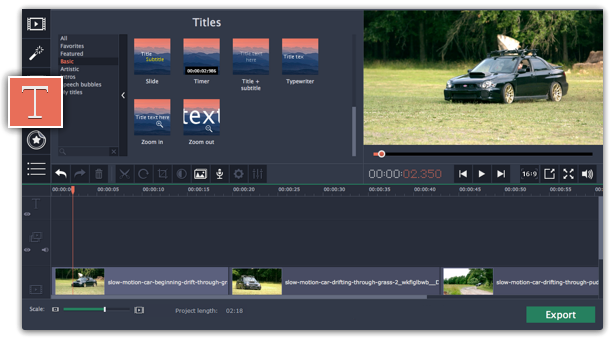
Step 2: Add Timer titles
1. Find the "Timer" title style. Use the search bar or click the Basic group to filter the styles.
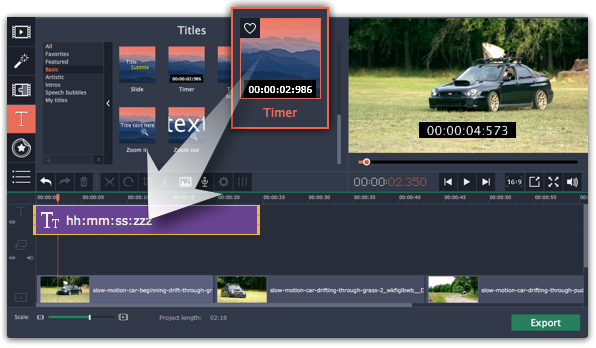
2. Drag the Timer titles onto the title track of the Timeline. Move the clip along the Timeline until its beginning is where the titles should appear. To change the length of the timer, drag at the edges of the clip.
Step 3: Edit the timer
1. Double-click the timer clip on the Timeline to edit it. A properties panel will appear over the player.
2. On the Clip properties tab  , set the duration and the format of the timer. The format determines which units of time are visible on the timer: hours (hh), minutes (mm), seconds (ss), and milliseconds (zzz).
3. On the Font properties tab  , choose the font and style of the numbers.
4. On the Color properties tab  , set the color of the numbers and the background color. To make the background transparent, click the background color square and set Opacity to 0%.
5. On the Timer tab  , enter the starting time into the From box. If you want the timer to count backwards, select the Countdown option.
6. In the player, drag the Timer to the necessary location on screen.
7. Finally, click Apply to exit editing mode.

