|
|
Disk usage
The Disk Usage tool analyzes your disk and shows you which files and folders are taking up the most space.
Step 1: Open the Disk Usage tool
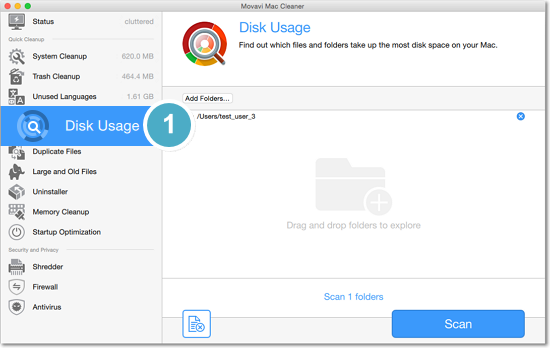
Click Disk Usage in the left sidebar to open disk analysis options.

Step 2: Choose folders to scan
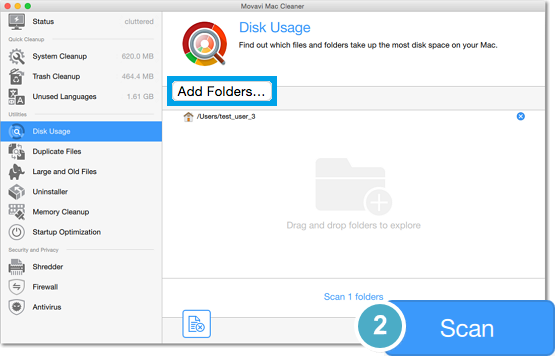
If you want to scan your entire Mac, your user directory will already be selected, and you can skip to scanning.
-
To add a different location, click Add Folders and then choose the folders you want to scan in the Finder dialog box, or simply drag-and-drop files from any Finder window.
-
To remove a folder from the list, click the
 icon next to it.
Then, click the Scan button to analyze the selected folders.

Step 3: Review the files and folders
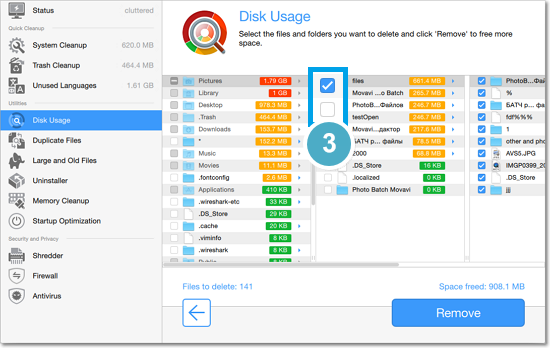
After the scanning is complete, you will see all the files and folders in a tree structure, sorted from largest to smallest. Click on a folder to view its contents, also sorted by size. You can navigate your folders just like using Column View in Finder. The largest files and folders are marked red, and the runners-up are yellow.
To mark a file or folder for deletion, click the checkbox next to it.
-
Deleting a folder will also delete all of its contents.
-
Grey boxes are folders that you cannot delete because they are reserved by the system. However, you may delete the contents of these folders.

Step 4: Delete selected files
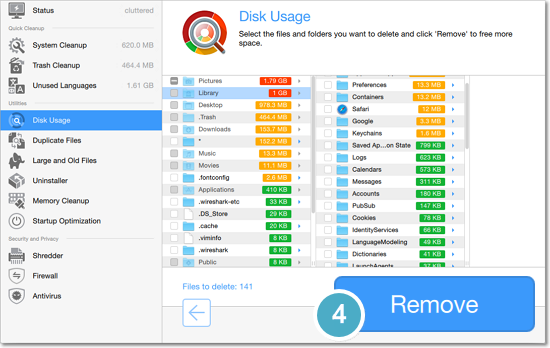
Click Remove to start deleting the files you've selected.


