|
|
Trash cleanup
Whenever you delete a file in Finder, it isn't removed from disk right away. Deleted files are moved to the Trash storage, where they continue to take up disk space until you empty the Trash baskets. The Trash Cleanup section will help you clear out all your Mac's trash.
Step 1: Go to the Trash Cleanup section
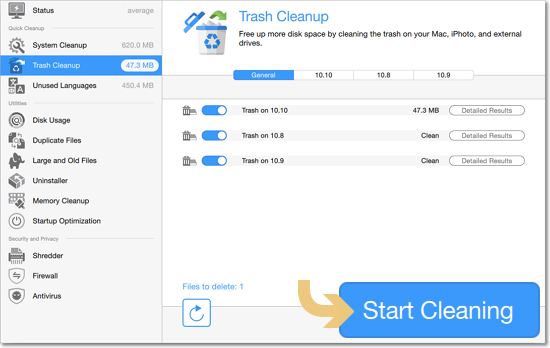
In the left sidebar, click Trash Cleanup to open trash removal options.
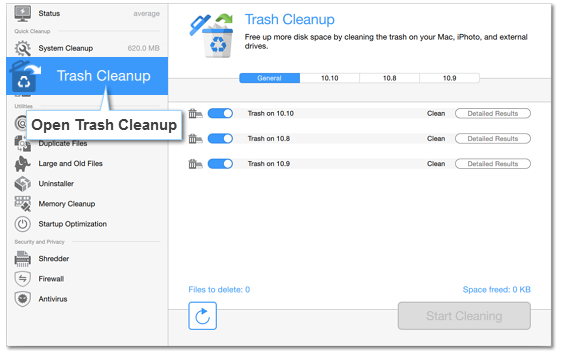
Step 2: Choose Trash to delete
On the General tab of the Trash Cleanup section, you can see all of your Mac's trash storages.
-
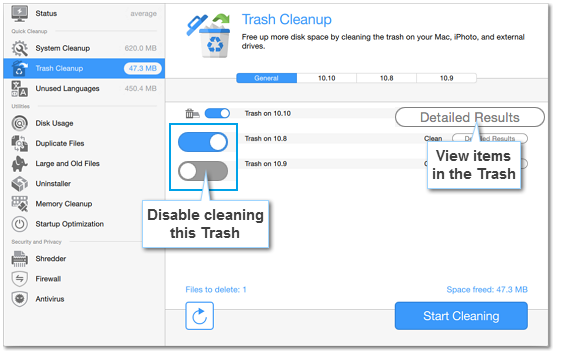
If you want to turn off cleaning the trash for one of the drives, simply drag the blue switch to the Off position
 .
. -
If you want to review the files marked for deletion to check if you've deleted something important, click the Detailed Results button for the corresponding drive, or click the drive's name on the panel on the left. You will be taken to a list of all deleted files. If you don't want to delete a file, deselect it in the table.
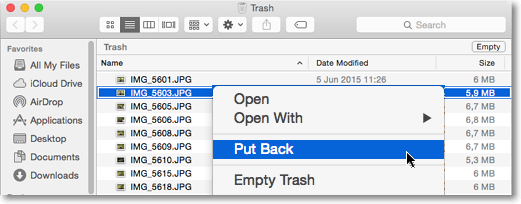
To restore a file, find it in the table and click the lens button to the right of the file:  The Finder window will open with this file selected. Right-click the file in the Finder and choose Put Back.
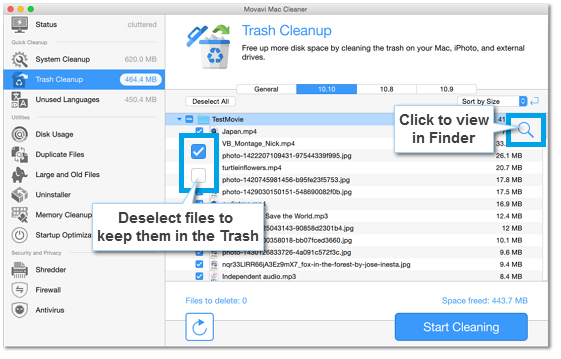
Step 3: Clean the Trash
Finally, click Start Cleaning to permanently remove the files from disk.
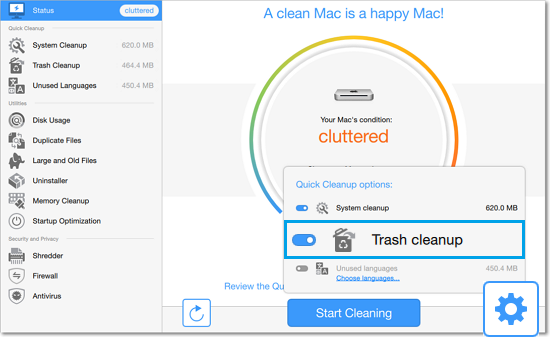
Quick cleanup
You can also clean out the Trash with Quick Cleanup. In the Status section, click the cogwheel icon to open the Quick Cleanup options and make sure Trash cleanup is enabled. Then, click Start Cleaning to remove all trash.