|
|
Installing ACE on the M1 chip Mac with MacOS 11 (Big Sur)
On this page, we detail the full, step-by-step sequence needed to install ACE. This is a one-time process, and you'll be up and running in just a few minutes.
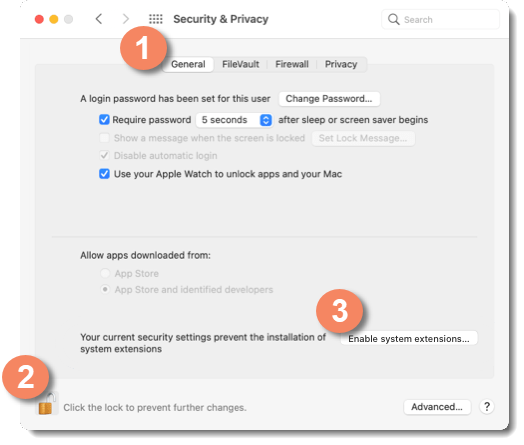
1. Go to the General tab of the Security & Privacy settings.
2. Click the lock to make changes and enter your user password.
3. Click the Enable system extensions… button to proceed.
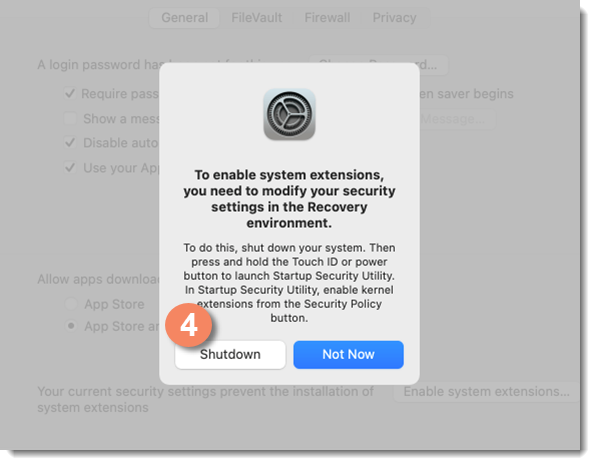
4. This dialog explains how to access the Mac's “Recovery” environment. Click Shutdown.
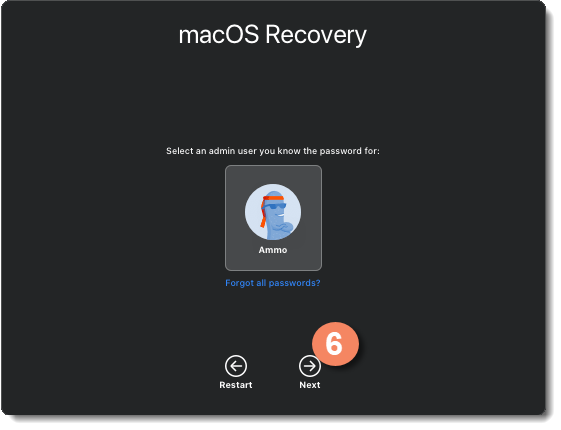
5. To boot to the Mac's “Recovery” environment, press and hold the Touch ID or power button on your Mac. When the screen says “Loading startup options…”, you can let go.
6. Select a user with administrator privileges, then click Next.
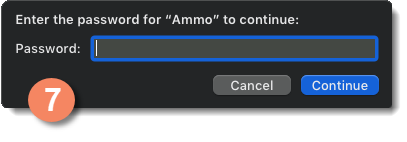
7. Enter your login password, then click Continue.
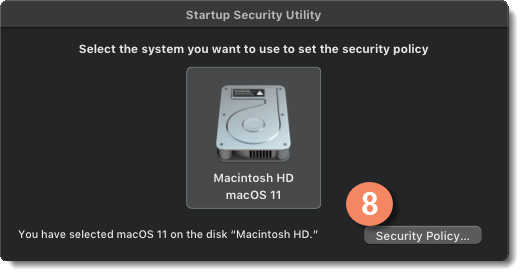
8. The Startup Security Utility should now load automatically. It can also be accessed from the Utilities menu.
Click your main system drive to highlight it, then click the Security Policy… button. This will enable you to adjust the security policy so system extensions like ACE can run.
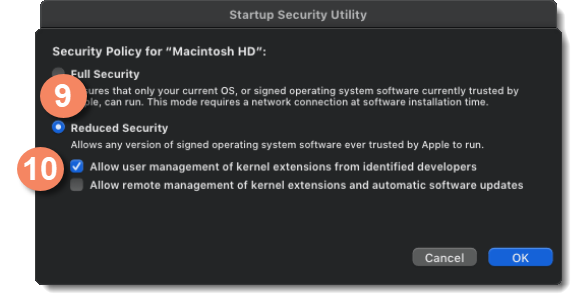
9. Switch to Reduced Security.
10. Enable the first checkbox, “Allow user management of kernel extensions from identified developers” and click the OK button.
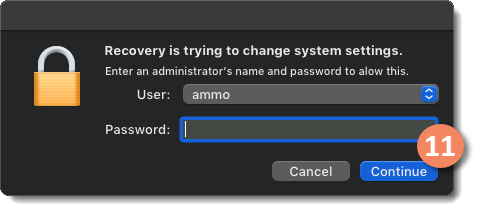
11. Enter your password, then click the OK button. The new security policy will then be applied. When it's finished, the window will close.
12. You can now click the Apple () menu in the upper left. Select Restart, then log back into your account as normal.
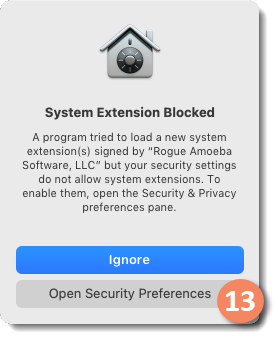
13. You'll now see a message from the system, stating that ACE has been blocked from running. Click the Open Security Preferences button to proceed.
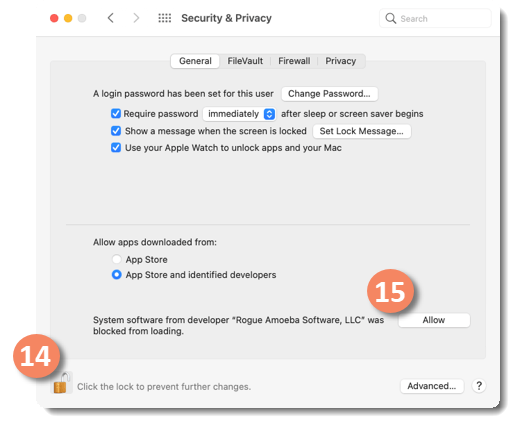
14. Click the lock to make changes.
15. Click the Allow button to permit ACE to run on your Mac.
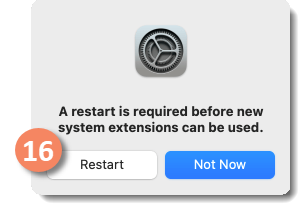
16. You're at the final step. Click Restart. When you log back in to your Mac, the application will be ready to go. Good work!