|
|
Creating a slideshow
In this guide, you will learn how to turn your photo albums into slideshows complete with music and transitions. Follow the instructions below to open the wizard and start making your own slideshow.
Create a new slideshow
-
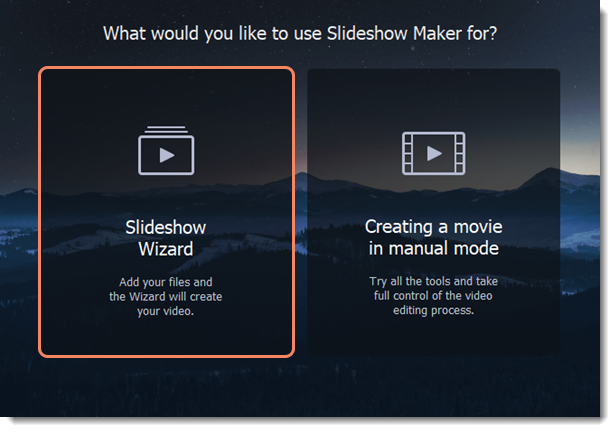
On the welcome screen, select Slideshow Wizard.
-
Or in manual mode, open the File menu and choose Create Slideshow.
Add files
-
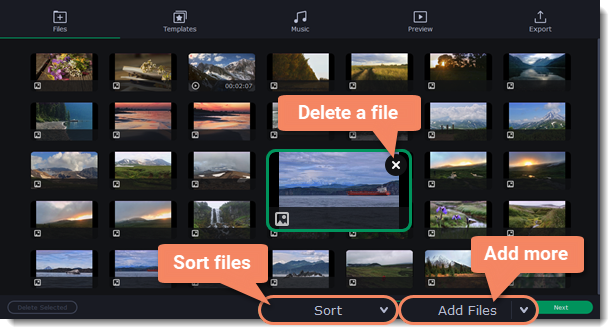
On the Files tab, click
 or drag and drop your files over the window. To add a folder with the files, click the arrow in the right part of the Add Files button.
 -
To sort files, click the Sort button and choose the sorting type: by name, by date or randomly. The order of files can be also changed by dragging them with the cursor.
-
To remove files, click the cross icon
 in the upper right-hand corner of each file. To remove several files, select the files you want to delete and click Delete Selected on the bottom panel.
 -
To proceed to the next step, click Next on the bottom right-hand corner of the window, or click Templates on the top.
Choose a theme or a transition preset
-
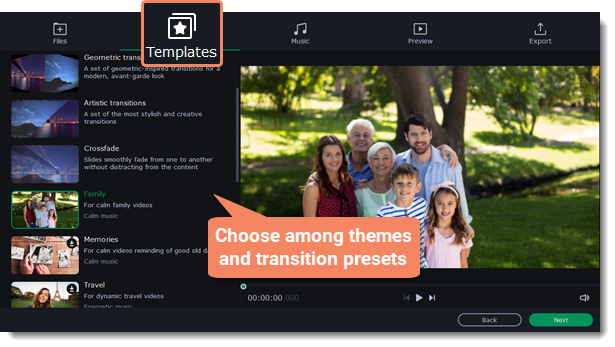
After you've added files, switch to the Templates tab.
-
In the column on the left, select the type of transitions or the theme you need. Click a template to preview it. Themes include titles and music, while transitions don't. You may leave everything out and continue with no transitions.
-
Click Next.
Add music
-
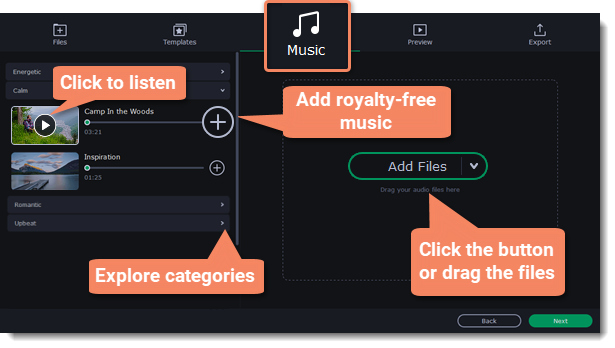
Switch to the Music tab.
-
You can use the built-in royalty-free music tracks from the list on the left by clicking the plus button
 . Explore all categories of music to find the best suiting track. Add music of your choice by clicking Add Files. To hear the built-in music track, click its preview. If you need to remove a track, click the cross icon
  near the added track.
 -
Click Next.
Add titles
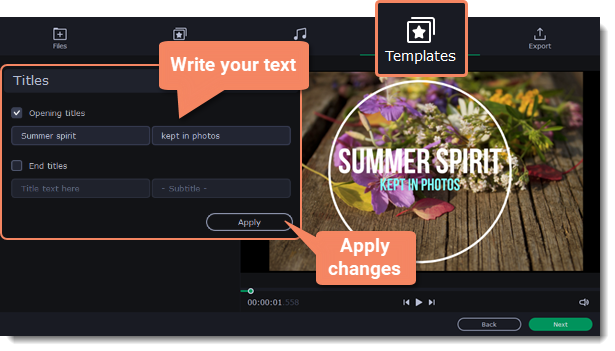
If you want to add some text over your video, use opening or closing titles.
-
Switch to the Preview tab.
-
Select, if you want to keep both titles, only one of them, or none.
-
Delete the default text and write your own.
-
Click Apply and preview the result in the player.
Make final adjustments (optional)
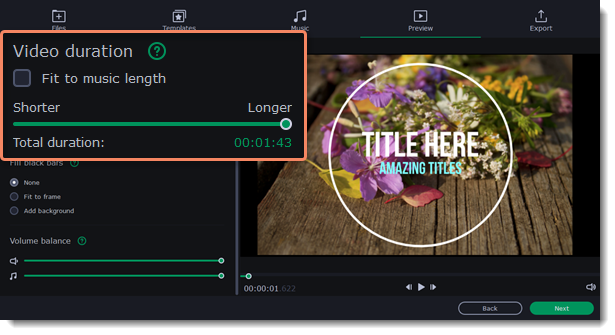
Video duration
Set the desired duration of the video: move the slider to set a specific time or select the option Fit to music length to make the video as long as the audio used in it.
Fill black bars
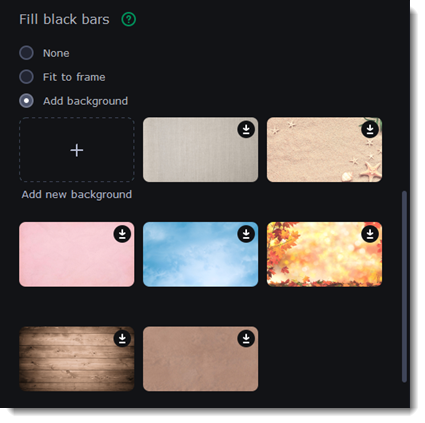
If the resolution of the project and the files in your slideshow are different, black bars will appear. You can remove them by checking the Fit to frame option.
None — the aspect ratio of the files will remain the same.
Fit to frame — the resolution of the files will be automatically fitted to the frame size, which is 4:3.
Add background — the aspect ratio of the files will remain the same, and the black bars will be filled with a built-in or a custom background.
Volume balance
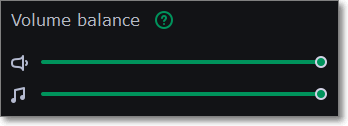
Volume balance regulates the volume of a particular source of the sound: video or separate audio. By default, both video and music have 100% volume. To switch off the video sound, move the upper slider to the left edge of the bar. And if you can't hear the video over music, you can make it quieter by moving the lower slider to the left.
Save your slideshow
When you're finished with your video, switch to the Export tab and choose the option you need.
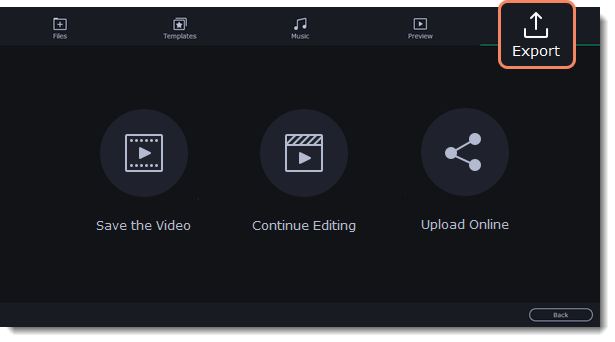
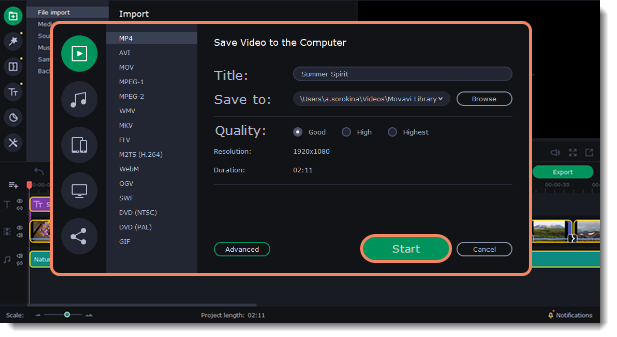
Save the video — go to saving your video directly from the Slideshow Wizard. To save the video, name your project, chose the format and a destination folder where you want to save your video. Then click Start and wait a few moments until your video is ready.
Continue editing — switch to the manual mode, to make additional adjustments such as adding effects, stickers, titles, and other.
Upload online — upload your video to YouTube, Vimeo or Google Drive. To save the video, name your project, chose the format and a destination folder where you want to save your video. Then click Start and wait a few moments until your video is available on the service.
Notice that you can't go back to editing the video with the Slideshow Wizard, once you click any of these options. The program will open the project in the manual mode. To make changes to your slideshow, click Back or select any of the tabs.
See also:


