
|
|
Quick Start Guide
Movavi Photo Batch can help you process multiple photos with the same settings and organize your photo collection.
|
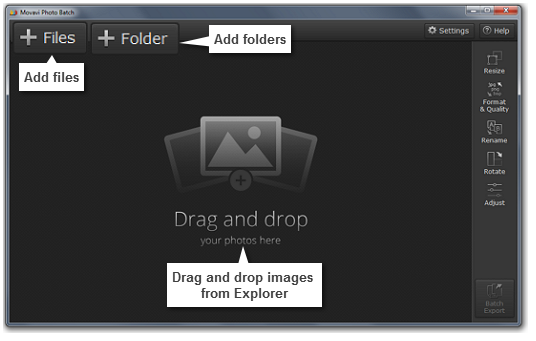
Add files
Drag and drop the files you want to edit from Windows Explorer, or use the +File and +Folder buttons to add individual files and entire folders.
 |
|
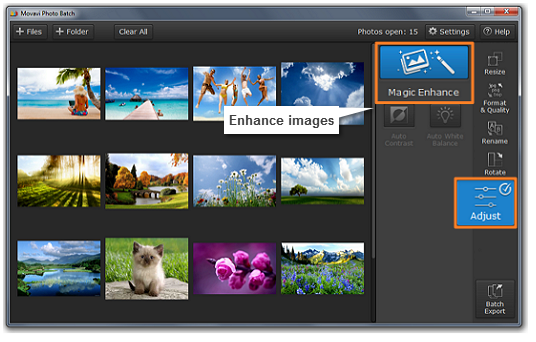
Adjust photos
Switch to the Adjust tab and choose the enhancements you want to apply to the photos. Use the automatic contrast and white balance adjustments, or click Magic Enhance for a fully automatic color correction.
 |
|
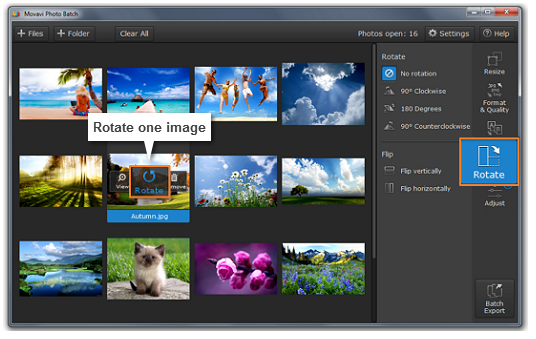
Rotate images
To rotate individual images, hover your mouse pointer over an image's thumbnail and click the Rotate button.
To rotate all images in the list, go to the Rotate tab and choose the necessary rotation angle.
  |
|
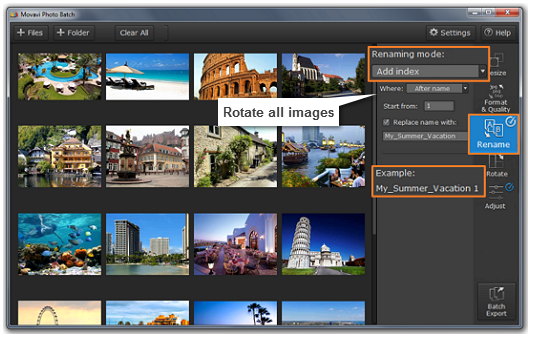
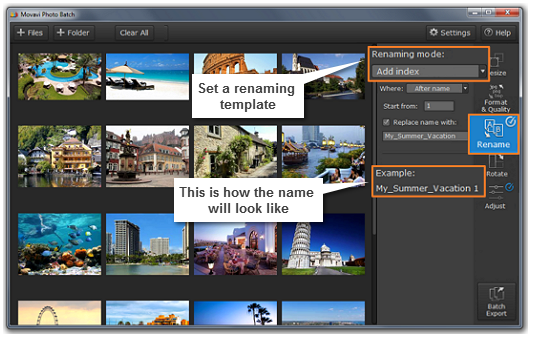
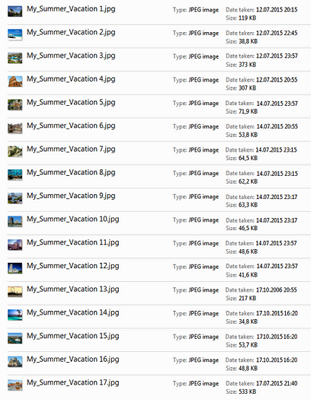
Rename images
If you have several photo sets from different cameras, or if you want to clean up your photo archive, you can set a template to rename all images in the list. Go to the Rename tab and choose how you want to rename the files. You can number your photos for efficient sorting, make uniform filenames for all of your photos, and label them with the date and time when they were taken.
  |
|
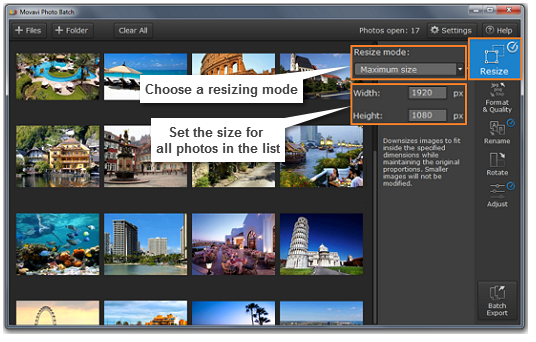
Resize images
Use the Resize tab to scale all of the photos to the same size.
 |
|
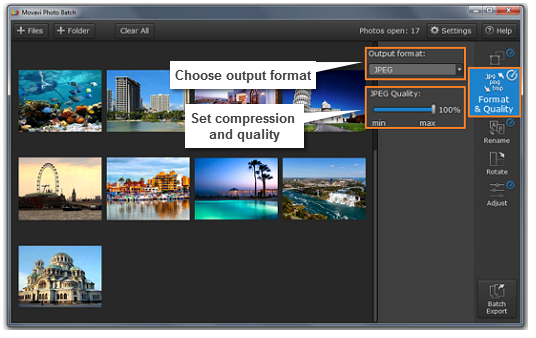
Convert images
The Format and Quality tab lets you save the photos in a different format and manage their quality.
 |
|
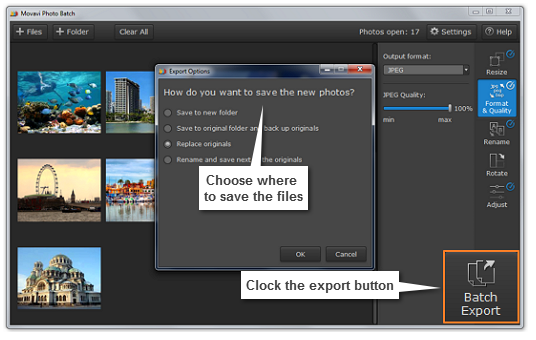
Export images
Finally, when you have reviewed all the settings, click the Batch Export button and choose where you want to save the processed images.
 |
Trial limitations
When you first install a copy of Movavi Software, it will be running in LIMITED TRIAL MODE. Trial Mode allows you to try all of the features of the full version, but it allows you to convert not more than 100 photo.
If you already have an Activation key, you can proceed directly to activating your copy of Movavi Photo Batch to lift all the limitations.
