|
|
Resizing images
How to change the size of an image
Resizing images allows you reduce an image's file size, prepare pictures for uploading to web albums, which often have a size limit, or prepare web-sized images for blogs and websites.
Tips:
If you intend to make other edits to the photo, it is best that you do them prior to resizing it, since the image quality will then be preserved better. Also, we recommend that you save a copy of the image before resizing in case you may need it later, especially if you plan on printing out the image.
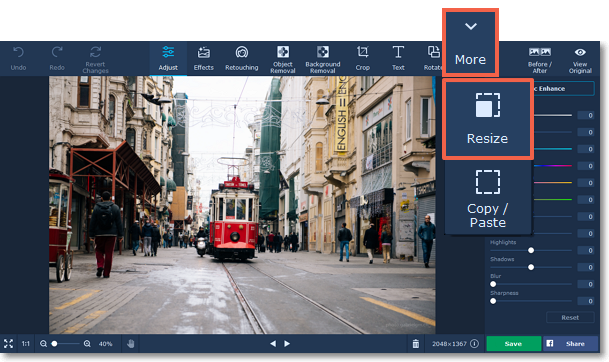
Step 1: Go to the Resize tab
On the top panel of the window, click the Resize button to switch to the Resize tab.
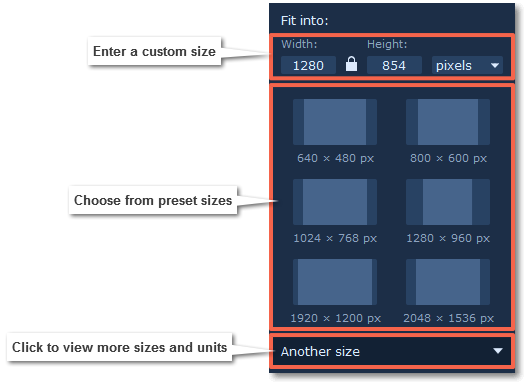
Step 2: Enter new dimensions
Select or enter the necessary image size:
-
To enter a custom image size, enter the dimensions into the width and height boxes. You can change the measurement unit in the box on the right. The default unit is pixels.
-
Or select from the most common image sizes from the table.
-
To view more sizes click Another size in the bottom of the panel.
-
To avoid visual distortions of the image after resizing, keep the Constrain proportions
 option enabled.
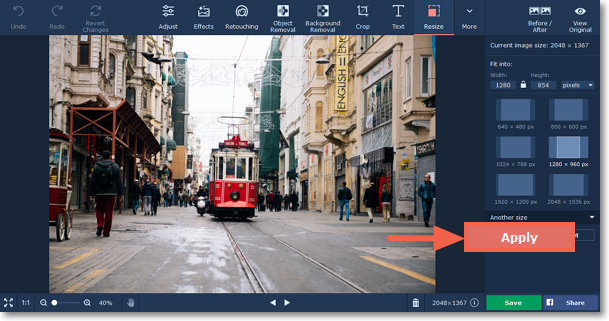
Step 3: Apply changes
Finally, click Apply to resize the image to the specified size. Don't forget to save the image when you're done!