
|
|
Movavi Photo Editor
Adding text
How to add text to a photo
The Text tab allows you to add text to your images. Use text to create image postcards, but remember – a picture is worth a thousand words!
Step 1: Click the Text button on the top to switch to the Text tab.
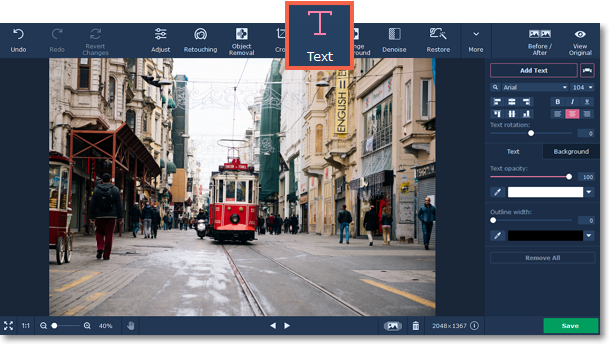 .
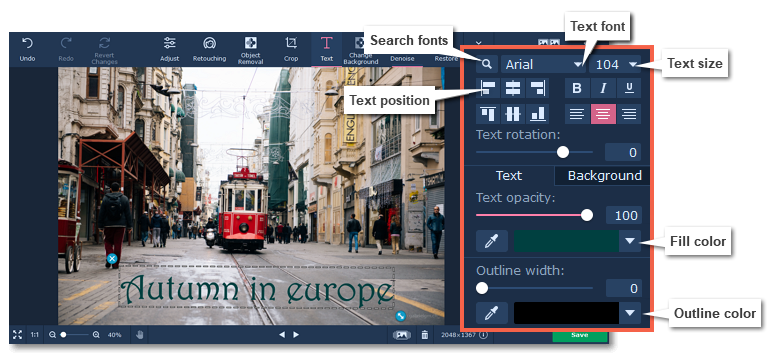
.Step 2: In the Text tab, click the Add Text button. A new text area will appear in the photo.

Step 3: Double-click inside the text area and enter the new text.

Step 4: Set a font, size, color, and position for your text.
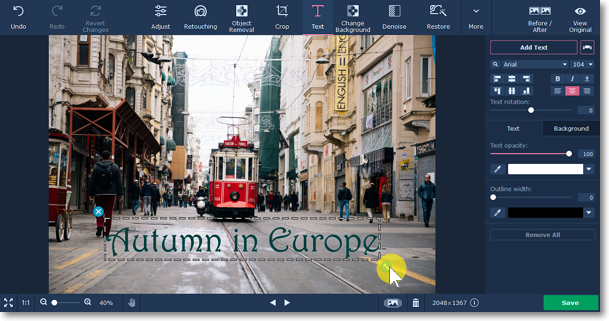
Step 5: Drag the text area with your mouse to place it inside the image. To rotate the text area or resize the text, drag at the  resizing button in the bottom right-hand corner of the text area.
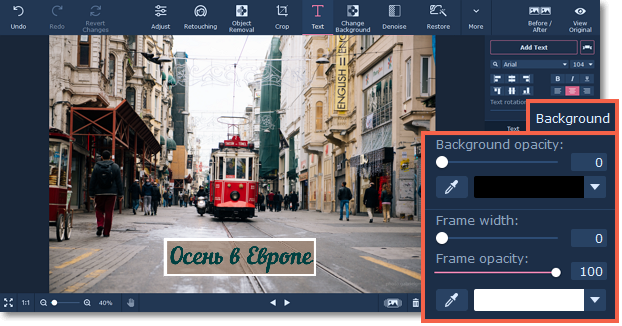
Step 6: Go to the Background tab on the right-hand panel. Here you can change the background color opacity and color and add a frame.
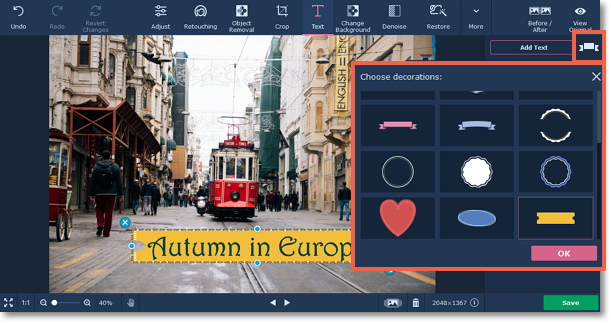
Click on the Add decorations button  next to the to the Add Text button to choose additional decorations from our library.
Removing text:
-
Select a text area and click the
 button in its upper left-hand corner to remove just that one caption.
 -
To remove all captions, click the Remove All Text button in the Text tab.
Tip: you can edit multiple objects at the same time. Press and hold Ctrl, then select the objects. To ungroup them, right-click on the group and select Ungroup object.
