
|
|
Movavi Photo Editor
Changing image format
How to save images in different formats
Changing an image's format allows you to use your images in a wider variety of situations or compress the images to a smaller file size. Many websites only allow a limited number of formats for uploading, so having a tool to easily change image format becomes a must.
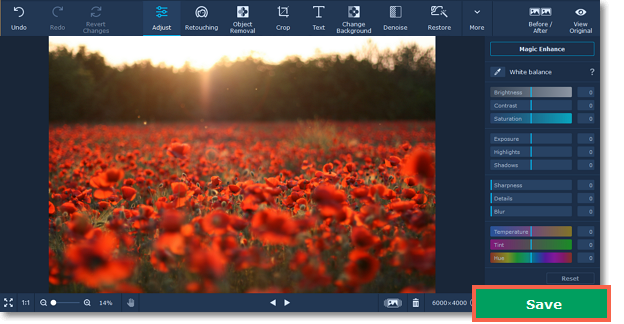
Step 1: After you've opened and edited an image, click Save in the bottom right-hand corner of the window. The Save File dialog box will open.
Step 2: To choose an image format, open the File type box and select the format you need.

Some formats also allow you to set image quality and compression method.
JPEG Quality
Drag the slider to the necessary quality level. Lower quality allows you to compress the image to a smaller file size, but will probably not look as good.
TIFF Compression
Select the preferred compression method:
-
Uncompressed: no compression method will be used. The image will be much larger in size than its compressed copies, but uncompressed images with large resolutions may be processed faster by some software.
-
PackBits: offers less compression than LZW, but is the most widely supported compression method, especially on Apple software.
-
LZW: compresses the image to about half size.
-
ZIP: best for working with 16-bit images and average for 8-bit images.
Step 3: Choose where to save the new file and give your file a name.
Step 4: Click Save.
If you make any edits after saving the file in a different format, you will be working with the new file.
