|
|
Movavi Photo Editor
Clone stamp retouching
How to remove small skin blemishes using the stamp tool
Located on the Object Removal tab, the Clone Stamp tool can help you manually correct small blemishes, remove wrinkles, or clone (copy) objects on an image.
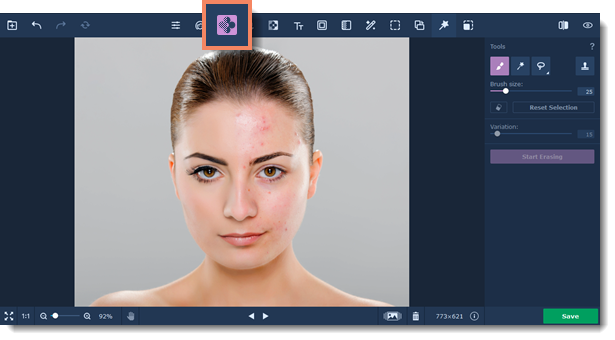
Step 1: Open the Object Removal tab
Click the Object Removal button to open the retouching options.
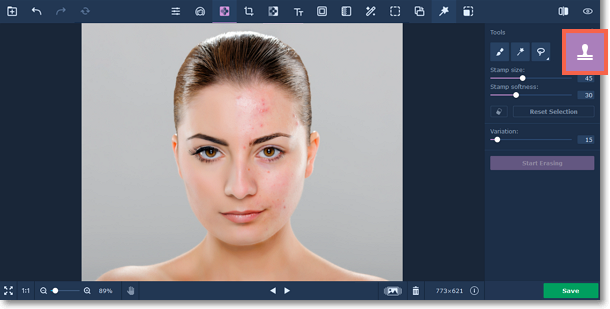
Step 2: Select the Clone Stamp tool
Click the stamp icon at the top to select the Clone Stamp tool.
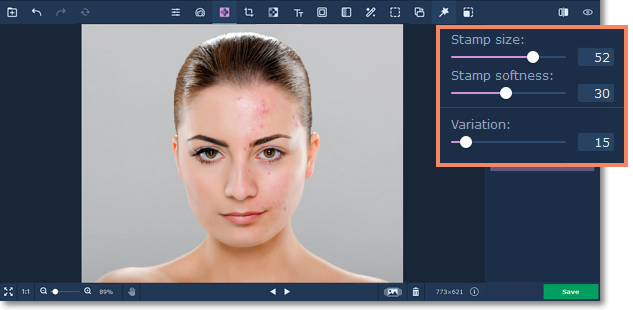
Step 3: Set the stamp size and softness
Use the Stamp size slider beneath the tool icons to set the stamp's size.
Increasing Stamp softness will make the stamp's edges more transparent, which can help you blend the stamped parts with the rest of the image.
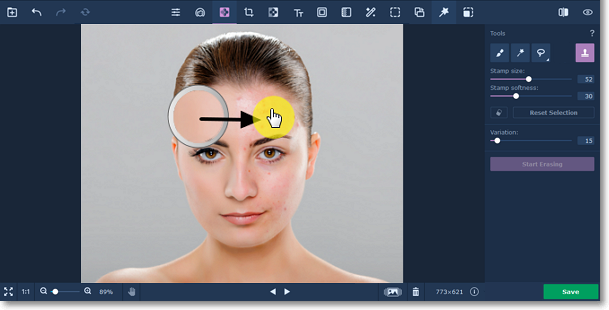
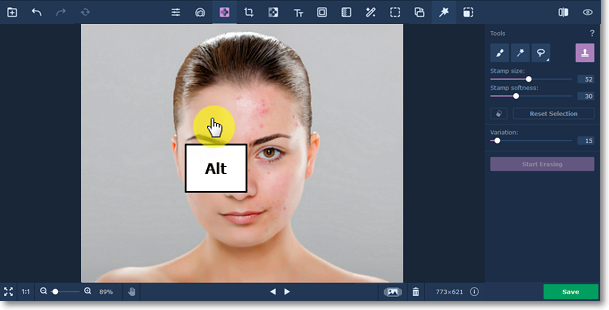
Step 4: Pick a source
Move your mouse pointer over to the area that you want to clone (e.g. a similar area without blemishes). Hold down the Alt key and click on the image to define a source point.
Step 5: Paint over the target
Release the Alt key. Then, move your mouse pointer to where you want the cloned fragment to appear and paint over the area you want to replace. As you move your cursor while painting with the stamp, the sampled area will also move relative to your cursor position.