|
|
Capture audio
Step 1: Connect a microphone
Connect a microphone to your computer and make sure that it is recognized by the system.
Step 2: Open the audio recording module
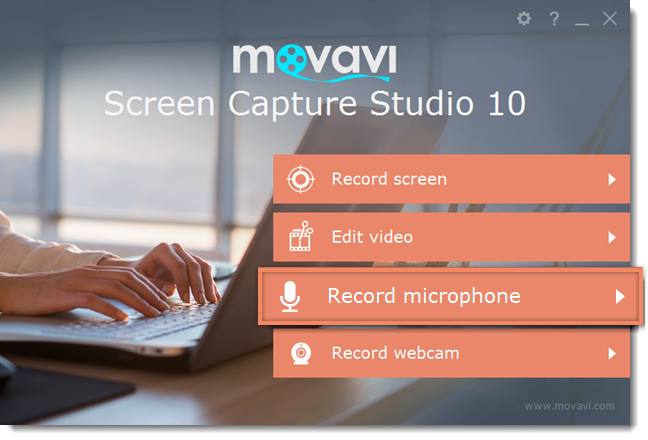
Open the Movavi Screen Capture Studio launcher and click Record microphone. The audio recording module will open in a separate window.

Step 3: Set up audio capture
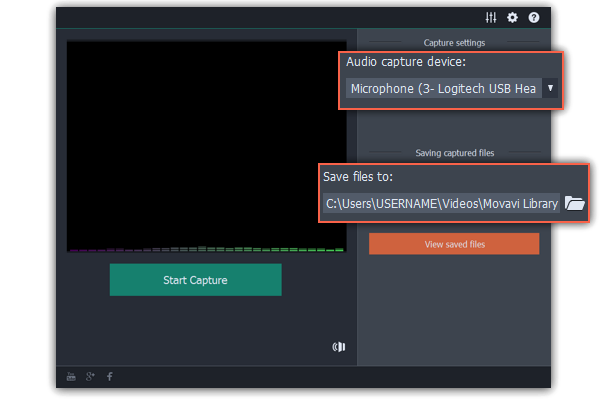
In the Audio capture device box, choose the microphone or whichever device you want to use for recording sound. To record audio that is playing on your computer*, choose 'Stereo Mix' or 'Speakers'.
* Depending on the model of your audio card, this option may be named differently. Some device manufacturers do not include a system audio recording option.
In the Saving captured files section, you can choose a template for naming the captured files. To do that, open the File renaming box and choose date or free text. Then, fill in the template details and the recordings will all be named after this template.
Under Save files to, specify the folder where you want to save the recordings. Click the folder icon next to the box to browse for the folder you need.

Step 4: Record
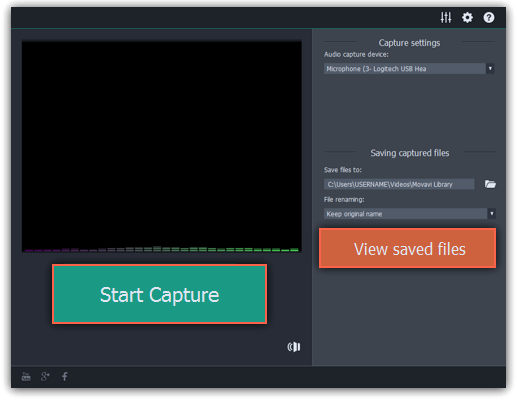
Click Start Capture to begin recording. As you record sound, you can see the frequencies reflected as color bars in the center. When you're done, click Stop Capture. If you need to record more audio clips, simply repeat this step.
The audio files will be saved to the folder specified in the 'Save files to' box. To open this folder, click the View saved files button.


