
|
|
Time limit
When you record a long webinar or online video, you can limit the recording to a specific time and it will stop automatically once the time is up. This way, you don't have to wait around for the video to end.
Step 1: Set a time limit
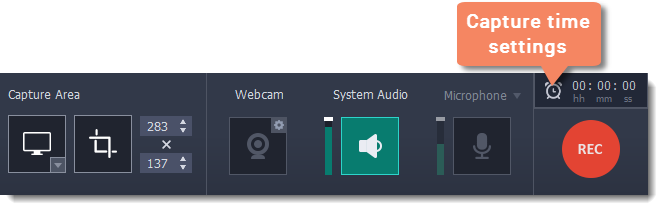
1. On the recording panel, click the alarm clock button  to open capture time settings.
Or open the Settings menu, choose Preferences and switch to the Capture Time tab.
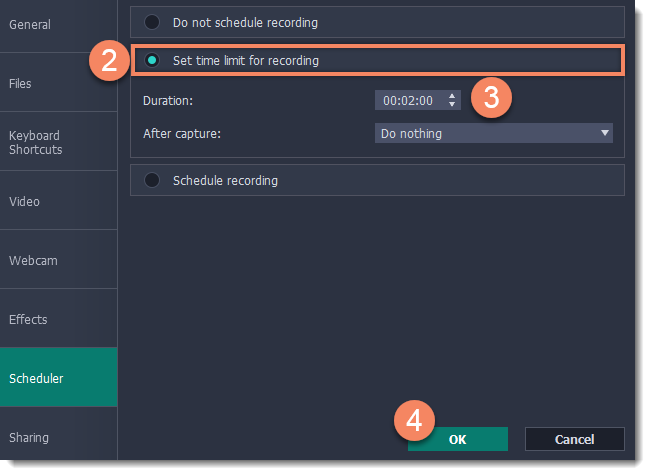
2. Select the Set time limit for recording option.
3. Set Duration by entering the time limit as hours:minutes:seconds.
4. Click OK to enable the time limit.
Note: the limit will work on all your next recordings in the current session only, until you restart the program.
Step 2: Start the recording
Click the REC button on the recording panel to begin recording. After the specified time is up, the recording will end automatically.
