|
|
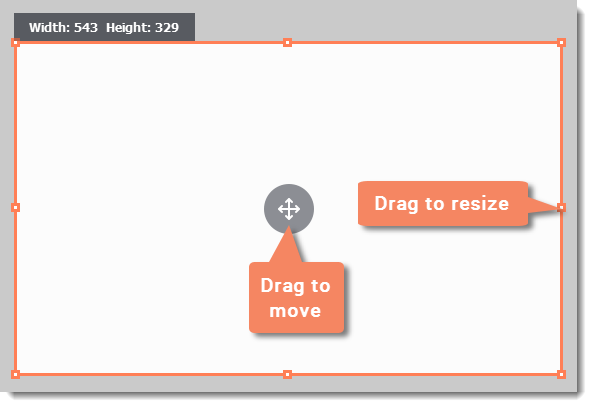
Capture area
The orange frame defines which part of your screen will be visible in your screen recording.
Selecting the capture area
Step 1: Click the Record region button on the launcher window.
* If you're using the mini-launcher, click the camera button on the left.
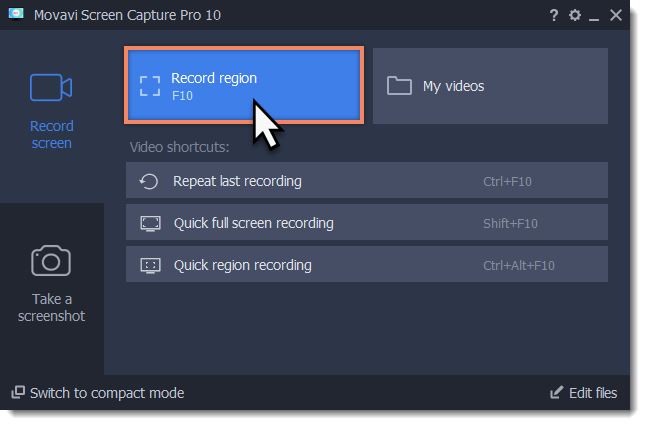
Or click the Select Capture Area button on the recording panel. To record the entire screen, click the full screen button.

Step 2: For custom area selection, your cursor will turn into a crosshair. Use it to select the part of the screen that you want to record.
-
To record a window or a window panel, hold your mouse pointer over the window you want to record and click when a frame appears around it.Tip: if you select a window, the capture area will follow whenever you move the window.
-
To record a part of the screen, click and drag diagonally to draw the area where you want it to appear.

Setting an exact size
-
For custom area selection, you can enter an exact size into the width and height boxes;
-
For full screen as capture area on two or more monitors, open the list and choose DISPLAY.

Editing the capture area
-
To change the capture area size, drag the edge of the capture area with your mouse.
-
To move the capture area, drag the circle
 in its center.