|
|
Export only audio
This section will guide you through exporting just the audio track of your project.
Step 1:
Click the Export button in the bottom right-hand corner of the Editor to open the export settings window.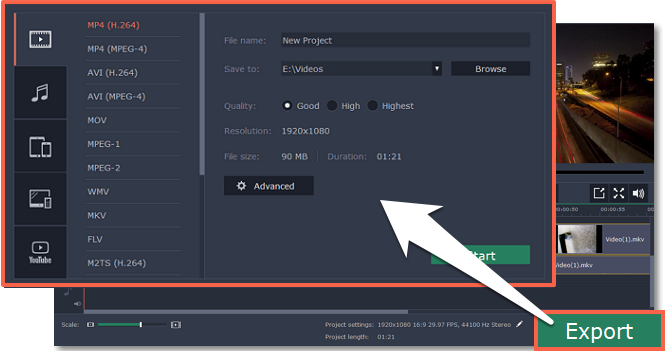
Step 2:
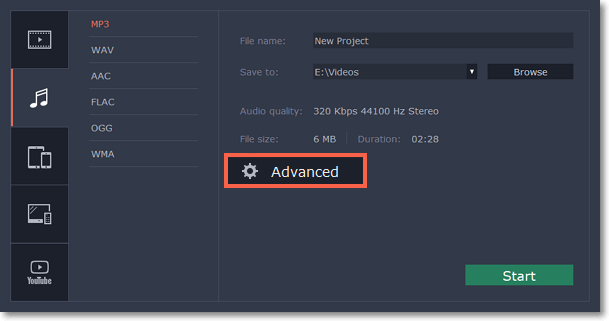
At the left-hand side of the Export window you will find a number of tabs. Click on the Save Only Audio tab.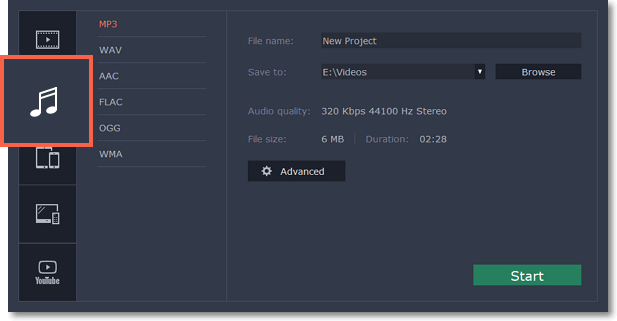
Step 3:
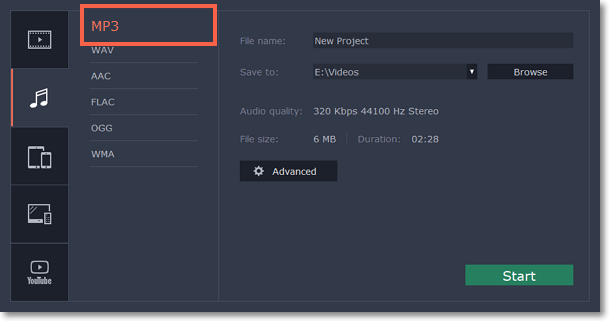
Select the format you'd like to save the audio in.While MP3 is the most commonplace format, supported by almost all media players and devices, FLAC format allows you to preserve high audio quality, albeit taking up considerably more disc space. When choosing an output format, it is important to note the quality of the original files: due to data compression limitations, digital audio cannot be restructured from very low quality files by saving them as FLAC audio, and vice versa – high quality files may lose some of that quality when saved to MP3 format which is limited to 320 Kbps.
When saving audio from your project, the audio file will retain the same sample rate and channel settings as you have set for your project. The audio bitrate will be determined from the quality of the original files and from the maximum bitrate for the selected format (for example, MP3 is limited to 320 Kbps, while FLAC bitrate is not limited).
Step 4:
Name your file and choose a destination folder.In the 'Save to' field, enter the folder where you would like to store the file. By default, this will be the directory for saving output videos specified in the preferences. To set a different folder, click the Browse button and choose the folder in the Finder window, or enter the path manually into the box. Name your video in the File Name field: the project's name will be filled in for you by default.
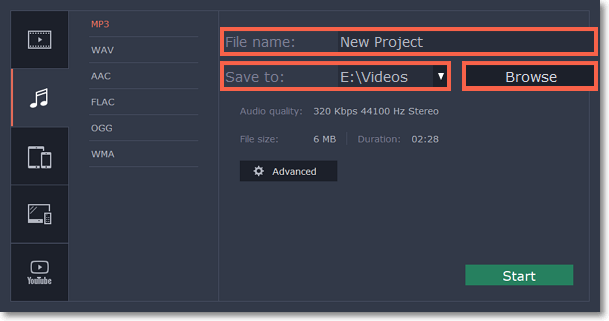
Step 5
: If you want to change the resolution, aspect ratio, or other settings, click the Advanced button to view and edit the project settings.The File size field shows how much disc space your file will require after saving. If the file size is too large, you can set a lower resolution in the Project Settings. At lower resolutions, the file will be significantly smaller, however, the audio will lose some quality due to the limitations of digital data compression.