|
|
Export for TVs
This guide will help you export your video project for playing on Smart TVs.
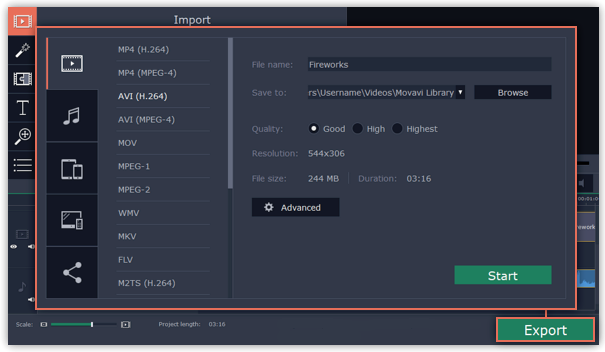
Step 1: Open the Export window
In the bottom right hand corner of the Editor, click the Export button to open the export settings window.
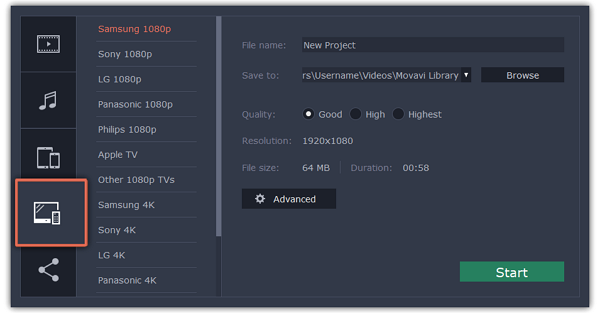
Step 2: Switch to the Save for TVs tab
In the left hand part of the Export window click on the Save for TVs tab.
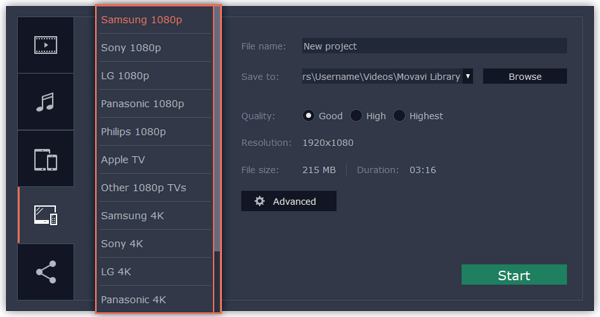
Step 3:
Choose a format
Choose your TV brand and the necessary resolution. If your TV is not on the list, choose Other 1080p TVs or Other 4K TVs.
Step 4: Set export quality (optional)
Project settings: If you've been using the default project settings, your video's resolution is now 720p. To avoid losing quality when saving to a larger resolution, open the Advanced window and edit the project settings. There, choose the 1920x1080 resolution for 1080p HDTVs, and the 3840x2160 resolution for 4K Ultra HD TVs.
Quality: If your project is heavy on small details and filters, you can select High or Highest quality to export the finished video with a higher bitrate. This will increase the output file size but will preserve better quality. For most other projects, Good quality will provide a nice result at a small file size.

Step 5:
Name your file and choose a destination folder
In the 'Save to' field, enter the folder where you would like to store the file. By default, this will be the directory for saving output videos specified in the preferences. To set a different folder, click the Browse button and choose the folder in the Windows Explorer window, or enter the path manually into the box. Name your video in the File Name field: the project's name will be filled in for you by default.
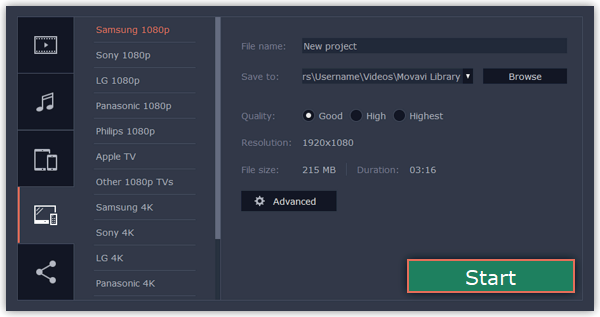
Step 6: Start exporting
Click the Start button to begin processing the video file. This may take up to a few minutes.