
|
|
Creating a video – quick start
In this mode you can use all the tools that the Video Editor has to offer and create professional-looking videos without complicated software.
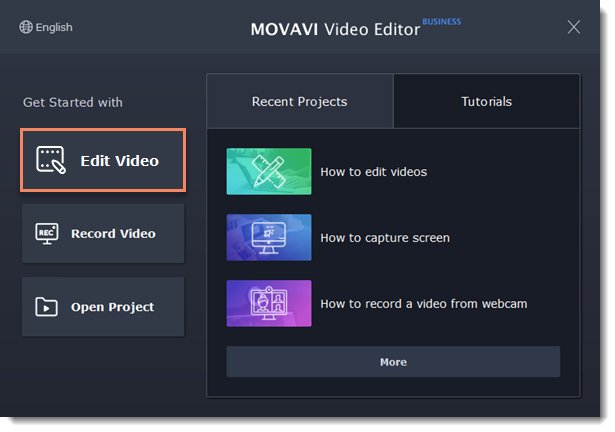
Step 1: Create a project
On the welcome screen, click Edit Video mode to begin making your movie.
Learn more: Creating and managing projects
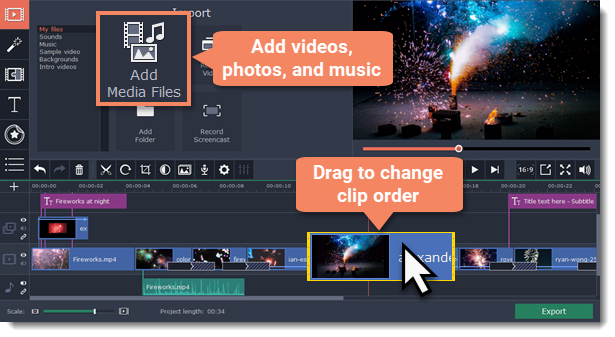
Step 2: Add files
Now it's time to add the files that'll make up your movie. On the Import tab, click Add Media Files and choose the files you want to use.
Step 3: Cut clips
To split clips or cut out unwanted bits, use the scissors button on the toolbar:
1. On the Timeline, select the clip you want to cut.
2. Place the position marker where you want to split the clip.
3. Click the scissors button to cut in the current position.
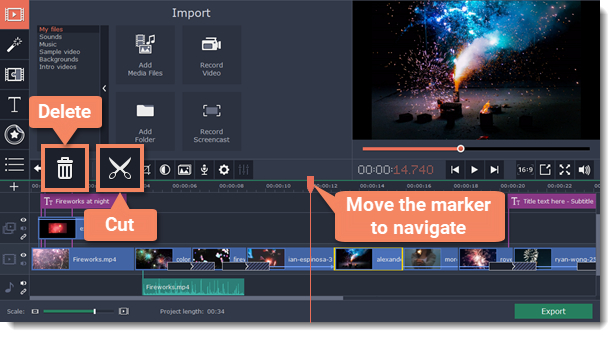
To delete parts, repeat the steps to cut off the unwanted fragment so that it is a separate clip, then select it and click the trash can button.
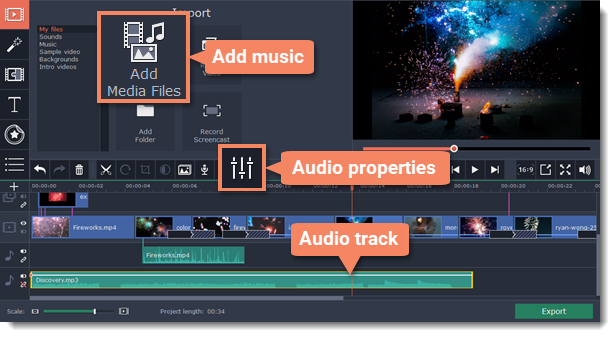
Step 4: Add and edit music
You can add audio files the same way you add videos and photos: on the Import tab, click Add Media Files and choose the audio file you want to use. The audio clip will appear as a blue ribbon at the bottom of the Timeline. To change the volume and edit the audio track, select it on the Timeline and click the Audio properties button.
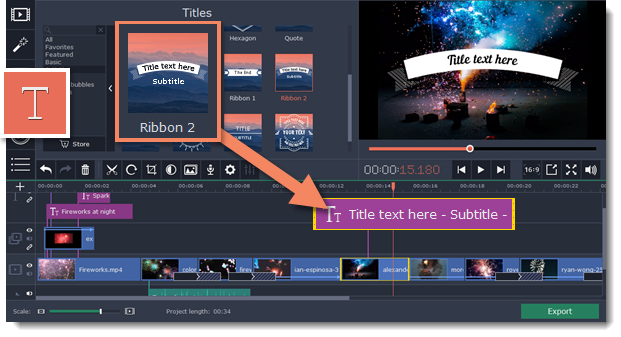
Step 5: Annotate your video
1. Click the Titles button on the left.
2. Pick a text style in the list and drag it onto the uppermost track of the Timeline. The text clip will appear as a purple ribbon.
3. Double-click the title clip and edit the text in the player. Here, you can change the font, color, and other properties of the text.
4. To change how long the text appears, drag the edges of the title clip on the Timeline.
Learn more: Titles
When you're finished with your video, it's time to save it in a format that can be viewed in any video player.
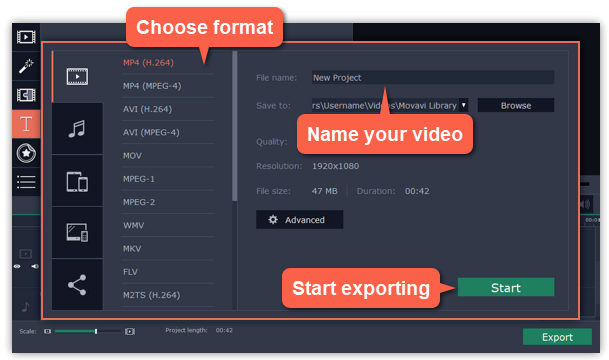
1. Click the Export button to open the exporting options.
2. In the Export window, choose a format you want to save the video in, and name your movie.
3. Finally, click Start to begin processing the video. Your video will be ready in a few minutes.
Tip: Make sure to save your work once in a while: choose Save from the File menu to save the project so that you can access it later.
