|
|
Reducing output size
Long recordings with a large capture area size may take up a lot of disk space. In the capture editor, you can compress the video to a smaller file size by trading off some of the quality.
Step 1: Open the output options
Click Save As in the bottom right-hand corner of the capture editor.
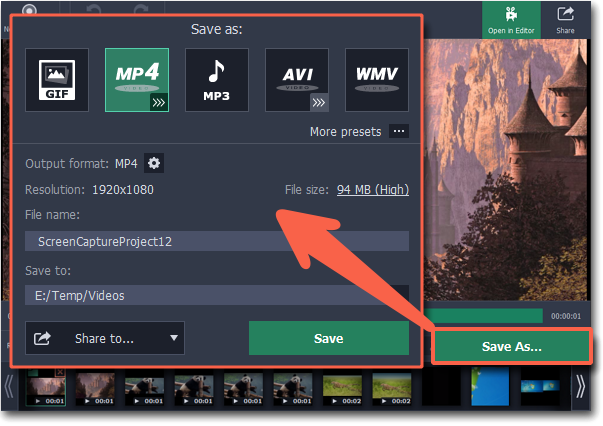
Step 2: Set up compression
1. In the output options window, click the File size information.

2. Use the Quality slider to change the output quality and reduce size:
-
Watch the bitrate and quality right above the slider. As long as the quality is High or Best, you most likely won't notice any difference.
-
If you need a specific size, you can enter it into the Size box. The quality will change to accomodate this size. Check the quality above to make sure you haven't set it too low.

What is bitrate?
Bitrate is the amount of data in each second of the video. The higher the bitrate, the more detail you can see. Bitrate is also affected by the resolution, so if the file is still too large you may want to use a smaller capture area or convert the file to a lower resolution.
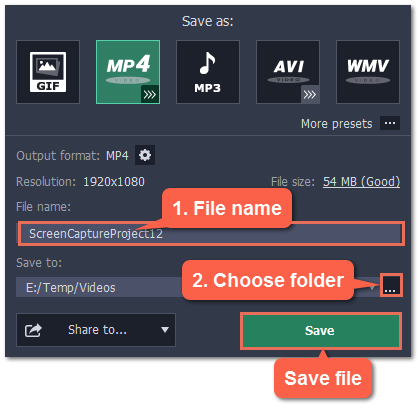
Step 3: Save the video
1. Under File name, name your new file.
2. To change the output folder, click the ellipsis button under Save to and choose a new folder.
3. Click Save to start processing the compressed video.