|
|
Uploading photos
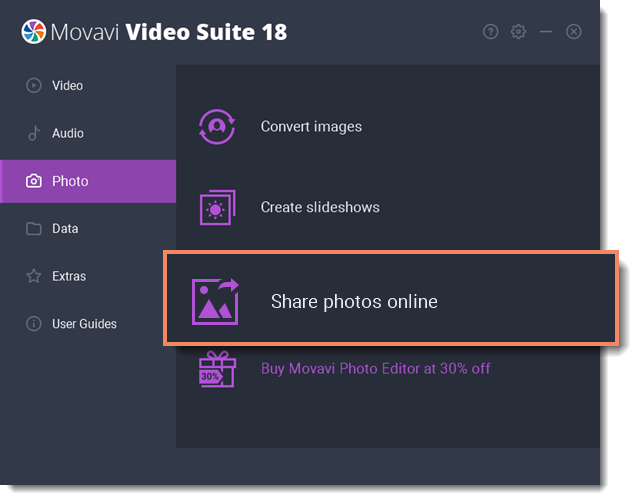
Besides video and audio files, Movavi Video Suite can also help you upload photo albums.
Step 1: Add files
1. In the Photo section of the Movavi Video Suite Launcher, click Share photos online to open the sharing module.
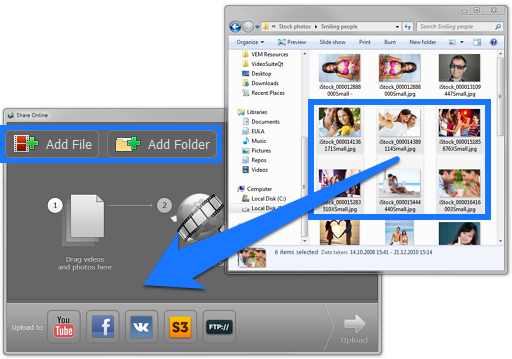
2. Drag-and-drop files from Windows Explorer onto the Share Online window or use the Add File and Add Folder buttons at the top of the window, and specify the files you want to open.
Step 2: Choose upload destination
Using Share Online, you can upload your photos to several sites at once.
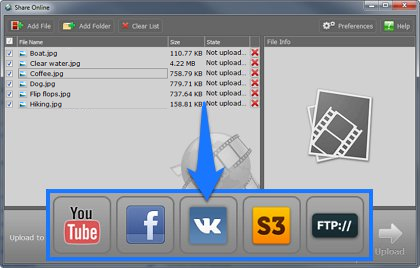
1. To select the services to which you want to upload your photos, click their icons at the bottom of the window.
* Note that YouTube does not accept photo uploads. Photos in the upload queue will still be uploaded to other selected services.
2. If you're using a service for the first time, you will be asked to authorize with the website. Don't worry, your login data is safe: where possible, authentication is processed through the website itself, so that your user data is not seen or stored by Share Online.
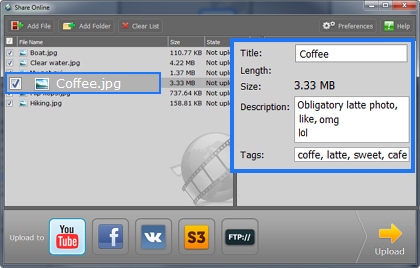
Step 3: Add descriptions
Now you can add some additional information about each file.
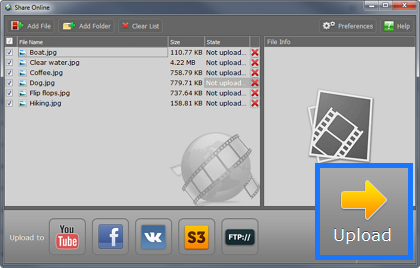
1. Click a file in the list. File Information fields will appear in the column on the right.
2. Fill in the title and description for the file. At the bottom of the column, you will see service-specific fields, such as privacy options.
Step 4: Upload the files
When you're ready, click the Upload button to begin sharing your photos. This may take up to a few minutes depending on your Internet connection.