|
|
|
-
Connect the camera you want to capture from to the computer. Make sure that the system recognizes the device and that it is working correctly. -
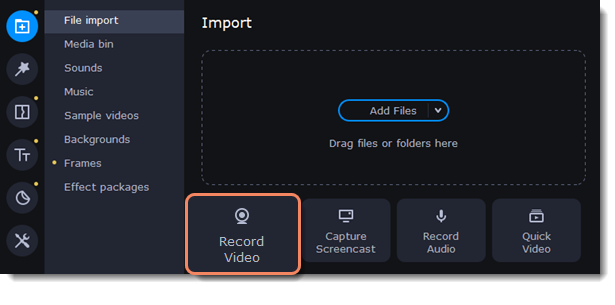
On the Import tab, click Record Video. The recording module will open in a separate window. -
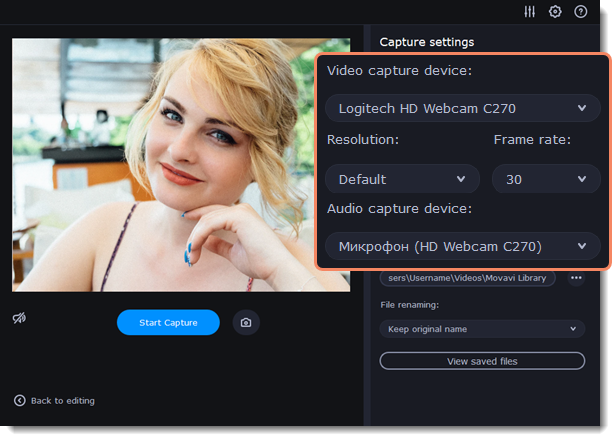
In the Video capture device box, choose the camera. -
Then, select the resolution and frame rate. A larger resolution will be able to retain better quality, however, the video file size will be larger. A higher frame rate is necessary for recording motion, while static scenes can be captured with a lower frame rate. -
In the Audio capture device box, choose the microphone. -
Choose a destination folder. By default, the recordings will be saved to your Movavi Library folder. To change it, click the icon  near the Save files to box. -
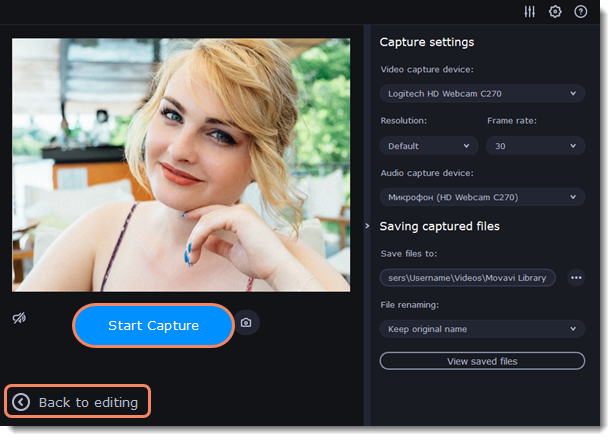
Click Start Capture to begin recording the video. During capture, you can take snapshots using the camera icon  on the right. -
When you're done, click Back to editing at the bottom of the window. The captured files will be added to the Timeline and saved to disk.
|
|
|
|