|
|
Recording screen activity
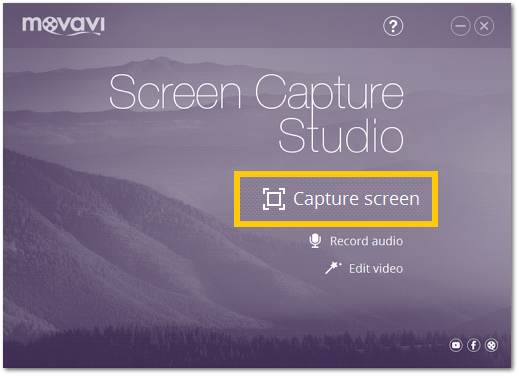
Step 1: Launch the Screen Capture module
Open Movavi Screen Capture Studio and click Capture Screen to launch the screen capture module.
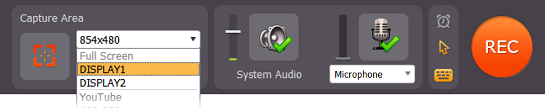
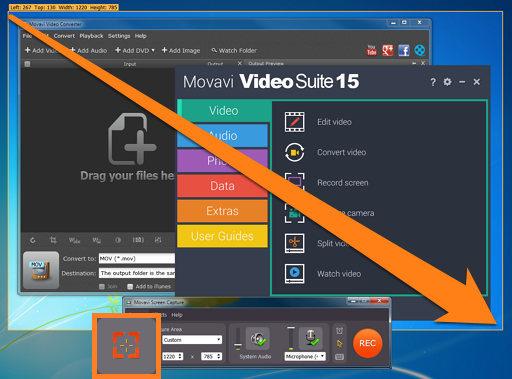
Step 2: Choose the capture area
First, you'll need to set which part of the screen you want to record.
To record the full screen
Open the list in the left part of the control panel and choose your display under Full Screen.
To record a window
On the capture control panel, click the crosshair button and then click on the window you want to capture. An orange capture frame will appear around the window.
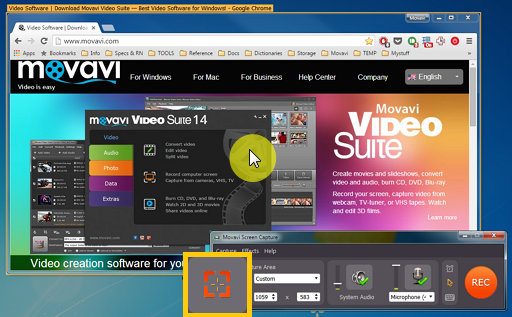
To record a custom fragment
On the capture control panel, click the crosshair button. Then, click and drag to draw the capture area on the screen.
Step 3: Choose audio sources
Next, we'll select what sounds you want to be heard in your video.
Music or sounds from your computer
To enable recording sounds from your computer (any music, videos, applications, and alerts), click the System Audio button. Use the slider to the left of the System Audio button to manage the volume of the recording.


on off
Microphone or audio device
To record from an external device, click the microphone button and select the device you want to use from the list below it. Use the slider to the left of the microphone button to manage the device's volume.


on off
Step 4: Extras
If you want to limit the length of the recording or record at a later time, use the Capture time options button: 
If you want to display your mouse during capture, click the Cursor options button: 
If you want to show which keys you pressed during recording, click the Record keystrokes button: 
Step 5: Set the volume
Before you start a recording, you can adjust a volume level for both system audio and recording devices.
To change the volume level, simply drag the sliders up or down.

Step 6: Record the screen
When you're ready, click the REC button to begin recording.

The capture control panel will change to show recording options. Here you can also keep track of how big the recording is going to be.
To pause the recording, click Pause. When you're ready to continue, click the Resume button.
To finish the recording and proceed to saving, click Stop.
To terminate and delete the recording, click Cancel.

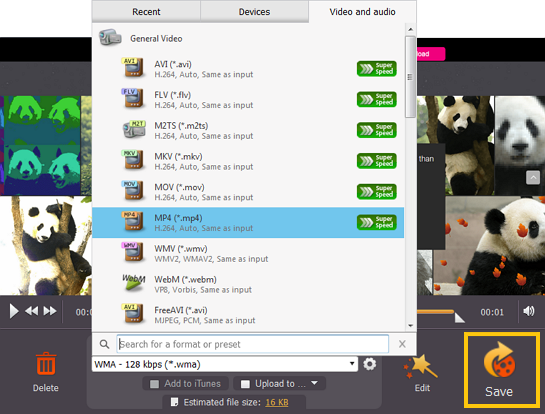
Step 7: Save the video
After you end the recording, you can preview the result and choose how you want to save the captured video.
Click the 'Save as' list and select the format you want to save the video in.
To save as a video format
Click Video and Audio at the top of the list and select the necessary format and resolution.
To save for watching on a device
Click Devices at the top of the list. Find your device's manufacturer and click on it, and then select the device's model. This will save the video in a format that is guaranteed to be supported by the selected device.
Finally, click Save to start processing the video.