
|
|
Making a video tutorial
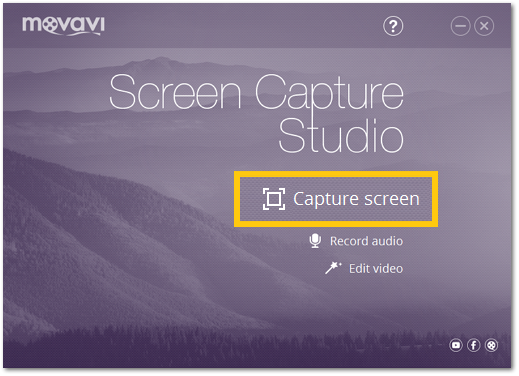
Step 1: Launch the Screen Capture module
Open Movavi Screen Capture Studio and click Capture Screen to launch the screen capture module.
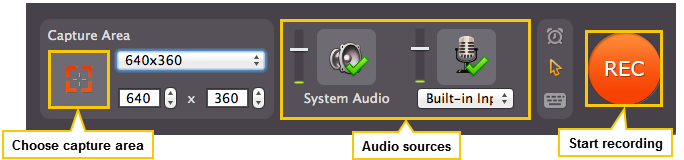
Step 2: Record your screen
1. In the Movavi Screen Capture window, select the area of the screen that you want to record. Learn more
2. Choose which audio that you want to record: system audio to record sound you can hear from your speakers or microphone to record your voice, and adjust audio and microphone volume. Learn more
3. Click the mouse cursor icon on the control panel and set up mouse cursor highlighting. This will help you bring attention to your actions on screen as you record the tutorial. Learn more
4. Click REC to start recording. When you're done, click Stop to proceed.
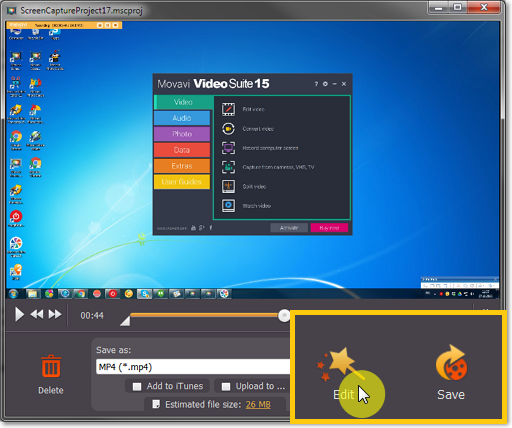
Step 3: Add the video to the Editor
1. After you've captured your screen, click the Edit button to open the captured clip in the Editor. You will be asked to choose an aspect ratio for your project. Editing captured files | Setting up a project
2. In the Editor, click Add Media Files if you want to add more clips to your project.
Step 4: Cut the video
To cut the captured video, select the clip on the Timeline, place the position marker where you want to cut the clip, and click the scissors button on the toolbar. Cutting video

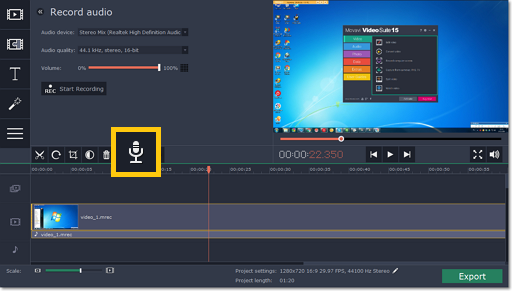
Step 5: (Optional) Record and edit audio
To record an audio voice-over:
1. On the Timeline, place the position marker to where you want the audio to start.
2. Click the microphone button on the toolbar to open recording options.
3. Select your microphone under Audio device, set up the volume and click Start Recording. When you're done, click Stop Recording, and you can find your voice-over as an audio clip on the Timeline.
To manage the volume for any clip, select it on the Timeline and open the Tools tab. There, set the Volume slider to the necessary level for this clip.
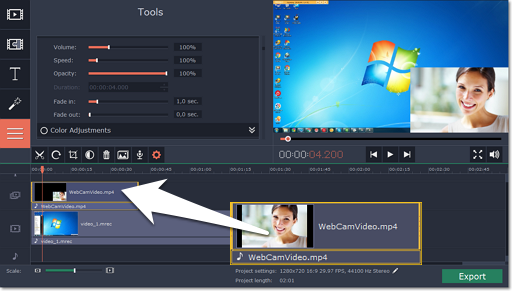
Step 6: (Optional) Record video from a webcam
Many video tutorials and webinars also have the author's webcam video in the corner. Adding your own webcam video is easy: first, record the video and then insert it as an overlay.
1. In the Editor, click the Record Video button on the Import tab.
2. The video recording module will open. There, choose your webcam under Video capture device, choose a microphone under Audio capture device, and then click Start Capture.
3. When you're done recording, click Stop Capture, and then Back to editing to add the video you've just recorded to the Timeline.

4. The recording will appear at the end of the video track of the Timeline. To create an overlay, select the webcam clip and drag it up, towards the top of the Timeline and place it onto the overlay track. The video will now appear in a small part of the frame over the main video track.
5. To change the overlay placement, double-click the overlay clip. Now, you can move and resize the overlay in the player. Click Apply on the options panel above the player to accept the changes. Now you have both your captured screen and webcam in the same video.
Step 7: (Optional) Highlight objects
In addition to highlighting the mouse cursor, you can bring attention to parts of the screen using the zoom and highlight tools.
1. If you have a long recording but you only want to zoom or highlight a part of its length, cut this part into a separate clip and select it.
2. Open the Tools tab without deselecting the clip. Here, find the Zoom and Highlight and Conceal tools.
3. To zoom in on a clip, select one of the Zoom modes. Then, in the player, select the part of the screen that you want to enlarge and click Apply in the Tools tab.
4. To highlight a part of the screen, select Highlight inside the Highlight and Conceal tool. Then, use the frame in the player to select the part of the screen you want to highlight and click Apply in the Tools tab.
Learn more: Cutting video | Editing tools
Step 8: Export the video
Now that you're done with your tutorial it's time to save it in a format that everyone can enjoy.
1. Click the Export button to open the exporting options.
2. In the Export window, select a video format that you want to use and choose a folder to save the video to.
3. Click Start to begin exporting the video. This may take a few minutes.
