|
|
Using the Timeline
The Timeline, located in the bottom part of the window, is the working area that allows you to organize and edit the clips. The Timeline consists of several tracks, which are all synchronized to a single time scale at the top, which indicates the time of the project.
Timeline tracks
Your clips are arranged on tracks by media type:
-
Titles track – contains text clips.
-
Overlay track – contains videos and images that are shown on top of other clips.
-
Video track – contains videos, images and the transitions between them.
-
Linked audio track – contains audio clips that are synchronized with the video track.
-
Independent audio track – contains audio clips that are not linked with the video track, such as background music.
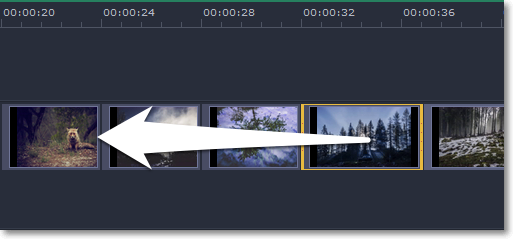
By default, media files will appear on the Timeline in the same order in which you've added them. To rearrange the clips, drag them with your mouse and drop them onto the desired position. To select multiple clips, use Ctrl+click or click and drag to draw a selection on the Timeline.

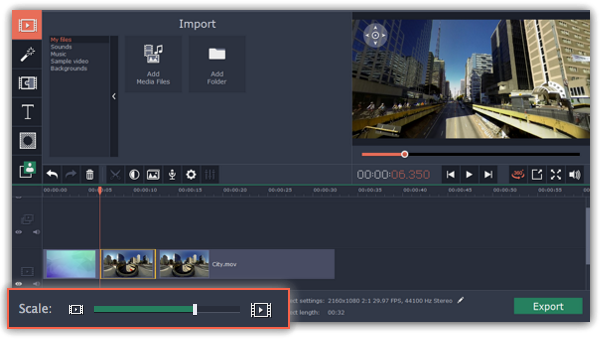
To change the zoom level of the Timeline, drag the Scale slider at the bottom of the window. Move the slider left to zoom out, and move the slider right to zoom in on the Timeline.

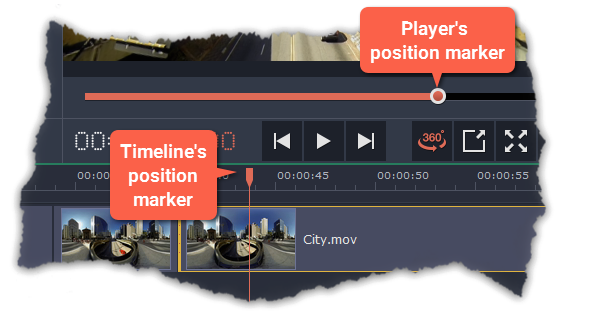
The position marker defines the currently selected point on the Timeline. There are two position markers: the orange line on the Timeline, stretching down from the time scale all the way through all of the tracks, and the position marker on the progress bar of the player. Both denote the current position relative to the whole project and show identical time.
The timestamp in the player displays the currently selected time from the beginning of the project.


