
|
|
Scrolling screenshot
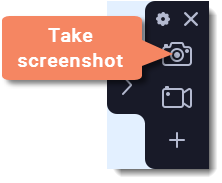
1. On the control panel, click the screenshot button  or press ⌥⌘3.
2. Select the part of the screen that you want to scroll and capture: press Space or highlight the needed part of the screen.
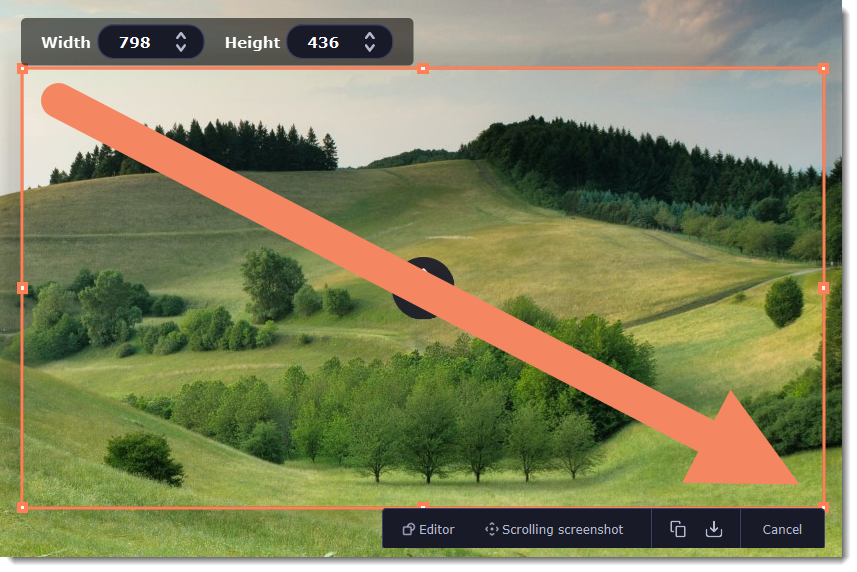
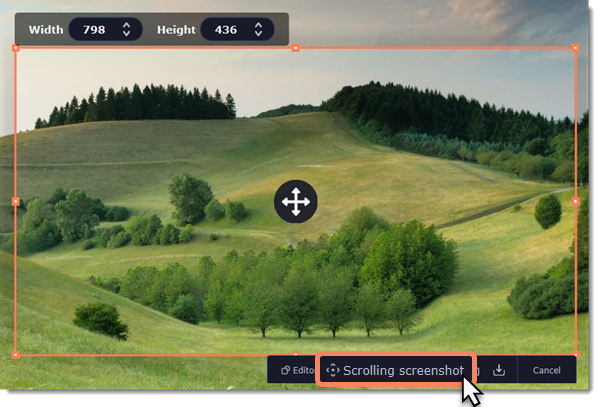
3. Press Scrolling screenshot in the menu.
4. Press Space or left click on the screen and scroll within the selected area.
5. Now you can edit or save your screenshot.
How to edit your screenshot
-
Select a tool you want to add to your screenshot: Line
 , Arrow
  , Frame
  or Highlighter
  . Hold the left mouse button and drag to draw a shape.
 -
Change the color
 and width
  of your shape.
 -
To add text, select the Text
 tool, click inside the screenshot frame and start typing in the box that appears. Select a font, change its size and color as well as the color of text background and outline.
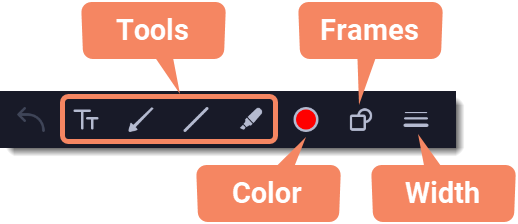
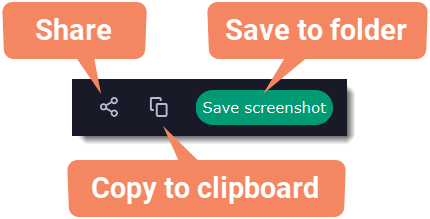
How to save your screenshot
-
Click the Copy
 button to copy the image to clipboard without saving the screenshot to a file.
 -
Click the Share
 button to share the image to WhatsApp, Telegram, and Google Drive, get a link to the image or send it in an email. Click Save screenshot button to save the image file and open its containing folder.
Where are the screenshots stored?
By default, the screenshots are stored in the "/Videos/Movavi Academic/" folder of your user. You can change where the files are saved in the Files section of the Preferences.
