
|
|
Capture area
The orange frame defines which part of your screen will be visible in your screen recording.
Selecting the capture area
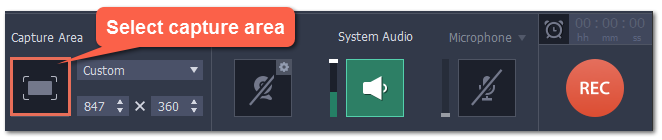
Step 1: Click the Select Capture Area button on the recording panel.
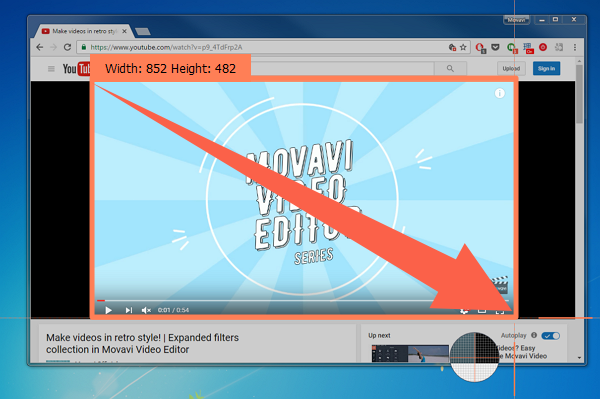
Step 2: Your cursor will turn into a crosshair. Use it to select the part of the screen that you want to record.
-
To record a window or a window panel, hold your mouse pointer over the window you want to record and click when a frame appears around it.Tip: if you select a window, the capture area will follow whenever you move the window.
-
To record the entire screen, click on an empty part of the desktop, or
-
To record a part of the screen, click and drag diagonally to draw the area where you want it to appear.
Setting an exact size
After you've opened the recording panel, you can choose a preset size from the Capture Area section, or enter an exact size into the boxes:
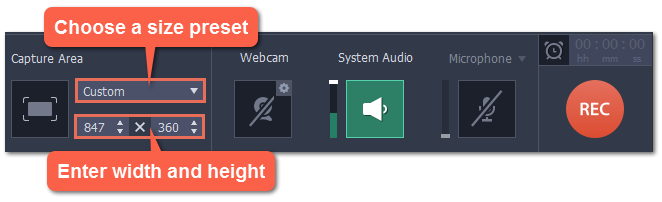
To set the capture area to full screen, open the preset list and choose DISPLAY from the list.
Editing the capture area
-
To change the capture area size, drag the edge of the capture area with your mouse.
-
To move the capture area, drag the square
 in its center.

