|
|
Movavi Photo Editor
Quick Start Guide
Movavi Photo Editor is a versatile photo editing tool that can help you easily fix and enhance your photos.
Step 1: Open a photo
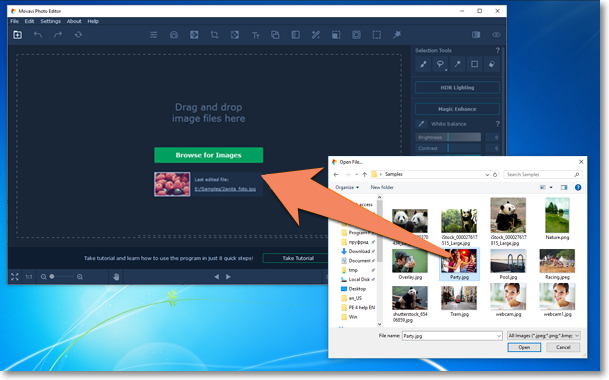
Drag and drop a photo from Windows Explorer onto the Photo Editor window, or click Browse for Images to open a photo.

Step 2: Edit the image
Next, use the tools to edit and improve the image. Click a button on the top sidebar to open the tab with the corresponding tool, and then modify the image.
Editing the photo dimensions
Use the Rotate tool if you need to rotate or flip a photo, or fix the photo's horizon level.

Use the Crop tool if you need to cut off the edges of the photo or change its proportions.

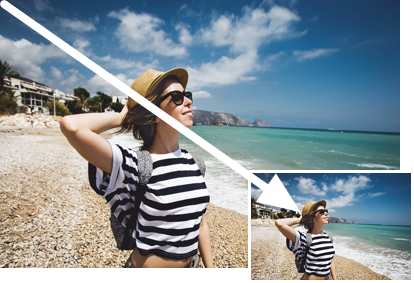
Use the Resize tool if you need to export a smaller copy of the image.

Erasing objects and retouching
Use the Object Removal tool if you need to remove unwanted objects from the picture or fix some defects.


Replacing the background
Use the Background Removal tool if you need to cut out a picture's background. You can leave the background transparent or replace it with a color or a different image.


Photo retouching
Use the retouching tools to get rid of small imperfections and apply make-up effects to your portraits.


Adjusting colors
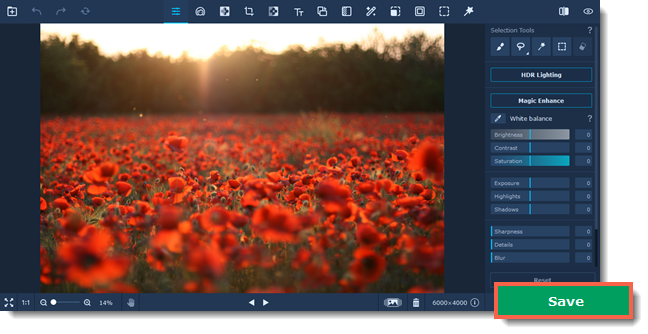
Use the Adjust tool to fix a photo's colors or add a creative touch. Click the Magic Enhance button for a quick automatic enhancement, or use the sliders to manually improve the brightness, contrast, saturation, and other properties.


Applying effects
Use the Effects tab to apply a creative effect to a photo. Simply click on an effect you like to apply it to the image.


Adding text
Use the Text tab to add text boxes to the image. You can add as many lines as you like and fully customize the font and position. With a combination of effects and text you can make creative greeting cards and motivational posters.

Step 3: Save the image
1. Click the Save button at the bottom of the window.
2. Choose a folder and name the new image.
3. Click Save.


