|
|
Uploading to Google Drive
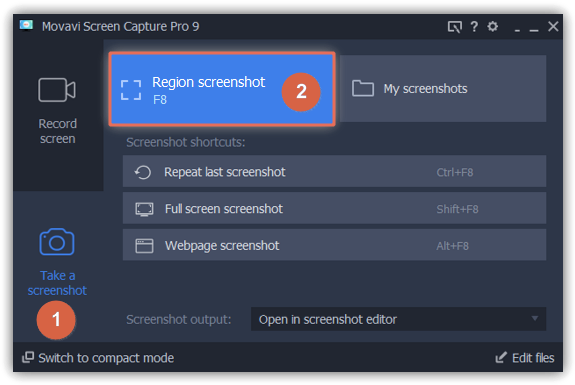
Step 1: Take a screenshot
1. On the Take a screenshot tab in the Movavi Screen Capture Pro launcher, click Region screenshot.
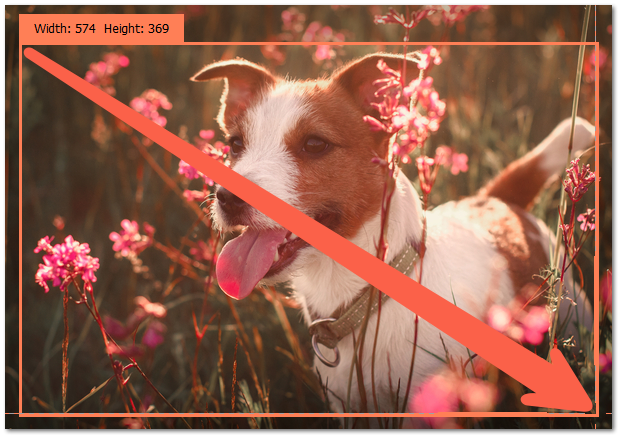
Your cursor will turn into a crosshair. Select the part of the screen that you want to capture:
-
To capture a window or a window frame, hold your mouse pointer over the window and click after a frame appears around it.
-
To capture a part of the screen, hold the left mouse button and drag diagonally to draw a rectangle.
-
To capture the entire screen, click on any empty area of your desktop.
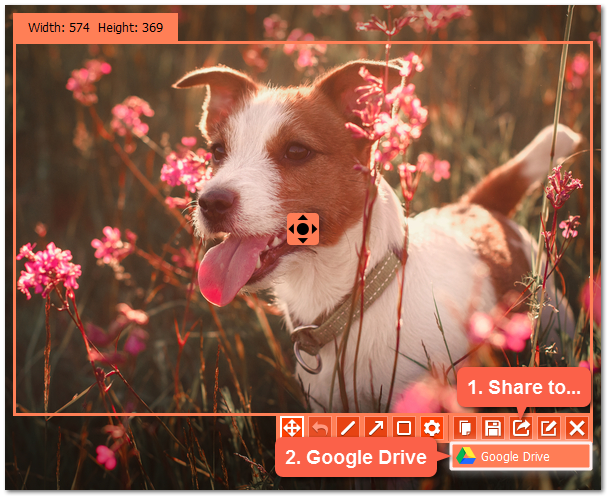
2. A frame will appear over the selected area. Click the share  button to share the image to Google Drive.
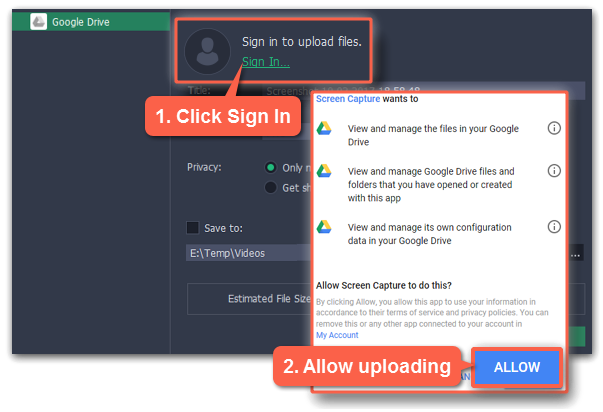
Step 2: Sign in to your account
1. Click Sign In. The authentication page will open in your browser.
2. Sign in to your account and click Allow to let Movavi Screen Capture Pro upload files.
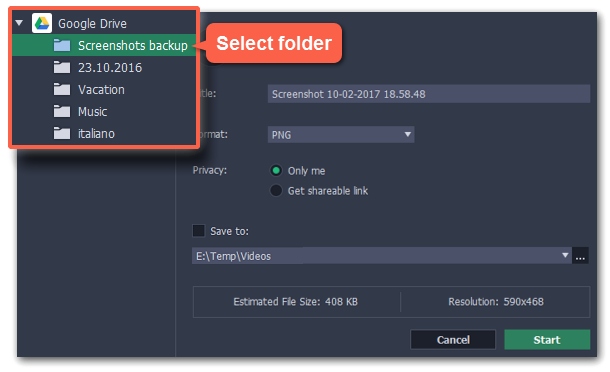
Step 3 (optional): Select your Google Drive folder
After you've signed in, the program will load your Google Drive folder list. You can share files to specific folders if you like. Select one of them in the list.
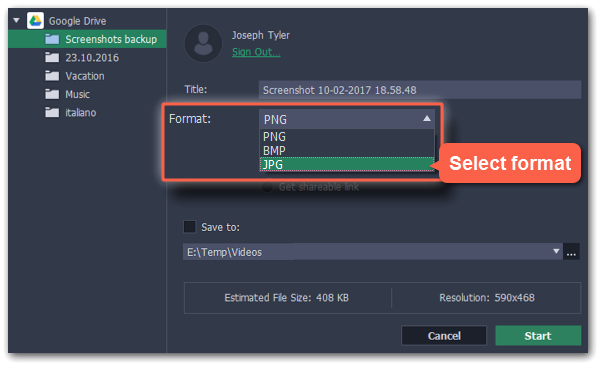
Step 4 (optional): Choose a format
By default, all screenshots are in PNG format. You can change the format to BMP or JPG.
1. Open the Format list in the export window.
2. Select a format you want to save your image in.
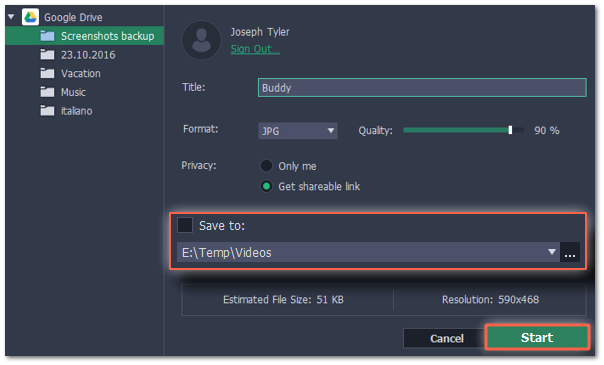
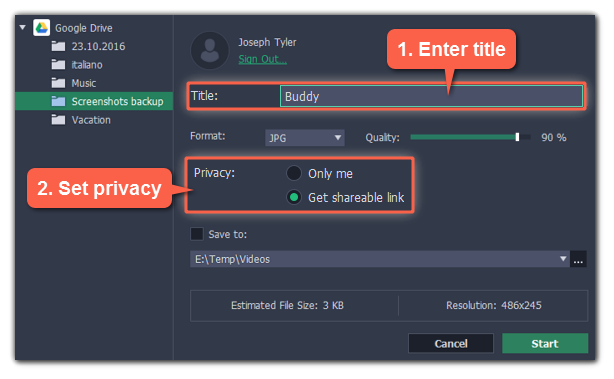
Step 5: Fill in the details
1. Fill in the title for your screenshot.
2. Choose who you want to see the screenshot under Privacy:
-
Only me – only you can see the screenshot.
-
Get shareable link – the screenshot will not appear for other people unless you give them the link.
Step 6: Save and upload the screenshot
1. Before uploading, you can save the screenshot as a file on your computer. To do that, enable the  Save to box. To change where the image file is stored, click the ellipsis button
  and select a folder.
2. Click Start to begin saving and uploading the screenshot.