
|
|
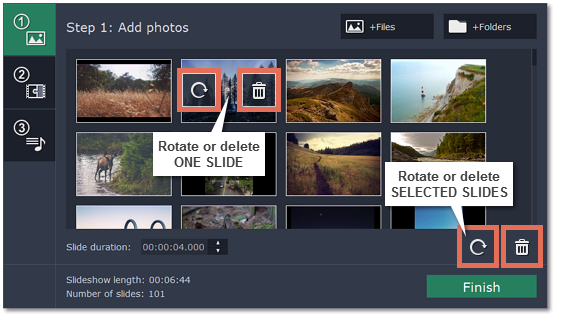
Step 1: Add photos
1. In the first step of the Slideshow Wizard, click +Files to open individual images, or click +Folders to add entire folders to your slideshow.
2. An Finder window will open. Choose the files or folders that you want to add.

3. Reorder your slides:
The slides will appear in the same order as you have added them. To rearrange the slides, simply click and drag them with your mouse to the necessary position.

4. Remove unwanted photos:
-
To remove one photo, hover your mouse pointer over it and click the trash can button that appears on top of it.
-
To remove several photos, select them in the list and click the trash can button beneath the slide list.
5. Rotate photos
-
To rotate one photo, hover your mouse pointer over it and click the rotation button that appears on top of it.
-
To rotate several photos, select them in the list and click the rotation button beneath the slide list.
Next step: Adding transitions
