|
|
Taking screenshots
Capturing screenshots with Screenshot Maker
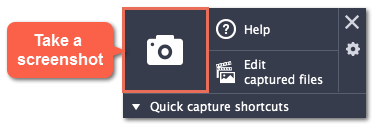
Step 1: On the Screenshot Maker launcher widget, click the camera button.
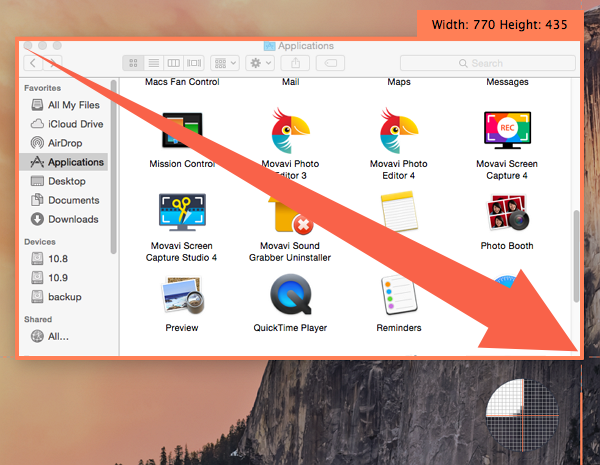
Step 2: Your cursor will turn into a crosshair. Select the part of the screen that you want to capture:
-
To capture a window or a window frame, hold your mouse pointer over the window and click after a frame appears around it.
-
To capture a part of the screen, hold the left mouse button and drag diagonally to draw a rectangle.
-
To capture the entire screen, click on any empty area of your desktop.
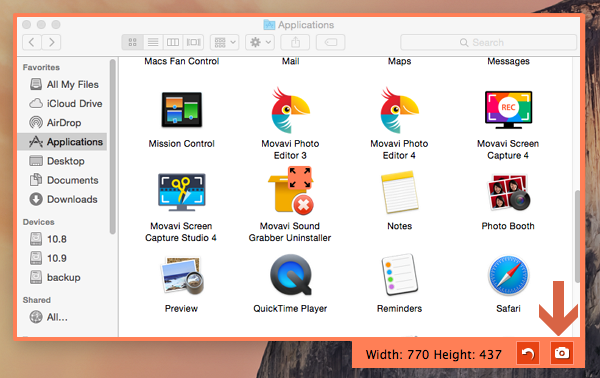
Step 3: A frame will appear over the selected area. Click the camera button to save a screenshot of the selected area.
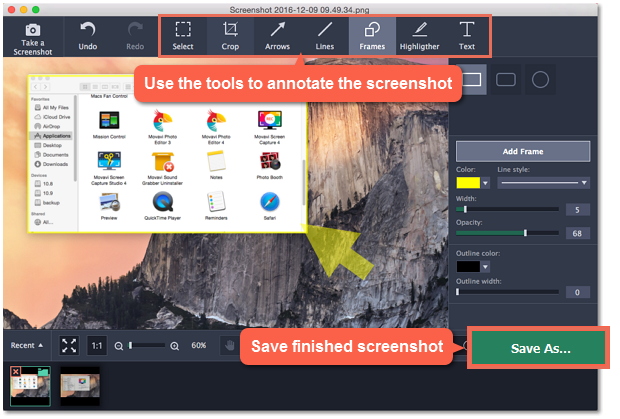
Step 4: (optional) Your screenshot has been saved, and you can now edit or annotate the image: add arrows, lines, frames or text. After you're done, click Save As to save the edited screenshot.
Where are the screenshots stored?
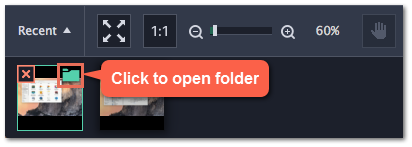
By default, the screenshots are stored in the "/Pictures/Screenshot Maker Movavi/" folder of your user. You can change where the files are saved in the Files section of the Preferences. To open the screenshot's location, click the folder icon on its thumbnail at the bottom of the editor window.
