
|
|
Creating a project
When you open Movavi Video Editor, a new project will already be created for you, so you can start editing right away.
Creating a new project
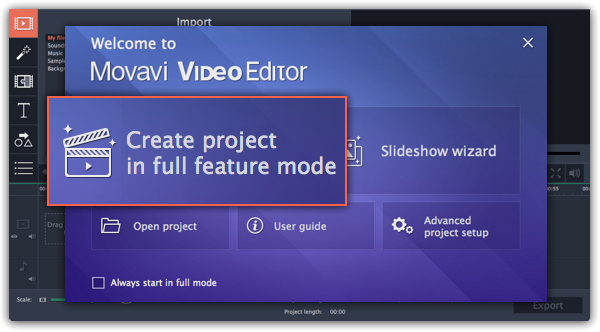
1. Open the File menu and choose New Project.
2. A welcome screen will appear. Click Create project in full feature mode to start making your movie.
-
If you want to make a quick slideshow, click Slideshow wizard on the welcome screen.
-
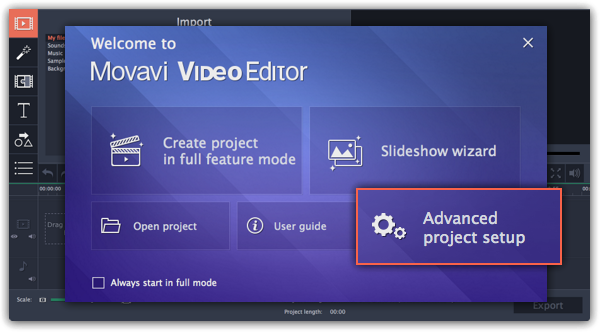
If you want to set up your project's size and other settings before starting, click Advanced project setup.
That's it! You can now start creating your movie.
Advanced project setup
If you want to set up the project's frame size before starting, click Advanced project setup on the welcome screen. Then, specify the necessary settings and click OK to start working on your project.
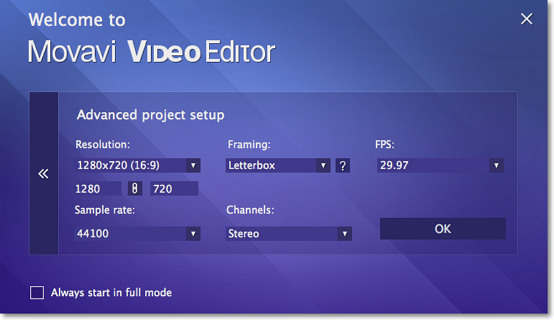
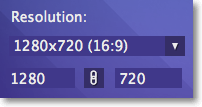
Resolution
The resolution is the width and height of your video in pixels. The higher a video's resolution, the more detail and quality of the original video it can retain. Choose your project's resolution based on the videos and images that you plan to use in it.
You can choose from one of the resolution presets, or manually enter the width and height into the corresponding boxes.
Aspect ratio
A video or image's proportions are called the aspect ratio. It is the ratio of the video's width to its height, and is shown in parentheses next to the project's resolution. While the most widespread aspect ratio is 16:9, others are also popular. Choose your project's aspect ratio depending on the videos and images you plan to use in it.
If the project's aspect ratio is different from that of the files, you may see black bars around the edges of the frame. Learn how to fix black bars

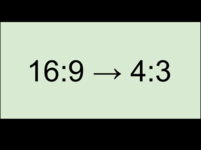
Adding 4:3 photos to a 16:9 project and vice versa
Framing
When you add videos and photos to your project, they are scaled to fit the project's resolution and aspect ratio. Framing, or resize method, defines how photos and videos will be placed inside the project's frame. This is especially important if you are using photos and videos that have different aspect ratios and want to avoid black bars on the screen.
-
Letterbox – the photos and videos will retain their original proportions, and will be resized to fit entirely inside the frame. Leftover space in the frame will appear as black bars.
-
Stretch – the photos and videos will be resized to fit inside the frame as best as possible, and then stretched to fill the remaining space. This allows to fill the entire screen without black bars, but it may distort objects in the photos.
-
Crop – the photos and videos will be resized in such a way as to fill the entire frame without changing their proportions at the expense of cropping away the edges. This allows to fill the entire screen nicely, but some parts around the edges will not be visible.
FPS
The number of frames per second is the number of shots that a camera takes each second to make a video. Most cameras shoot video at around 24 frames per second. However, some cameras can shoot high-speed video that you can use to make slow motion clips. If you plan on using high-speed videos, choose the FPS that matches the video. If you're using regular videos, leave the default FPS.
Sample rate
Just like digital video is made up of individual frames, digital audio is made up of tiny audio samples. Audio's sample rate defines how many of these samples are taken in a second and is measured in Hertz (Hz). This affects audio quality. The default option, 44100 Hz, is suitable for most projects.
Channels
This affects the number of channels in the project's audio. You can choose from mono (one channel) and stereo (two channel) sound, but stereo is usually best for most projects.
Project settings
You can also change these settings later by clicking the pencil icon at the bottom of the window:  .
.
See also:
