
|
|
Movavi Photo Editor
Saving images
-
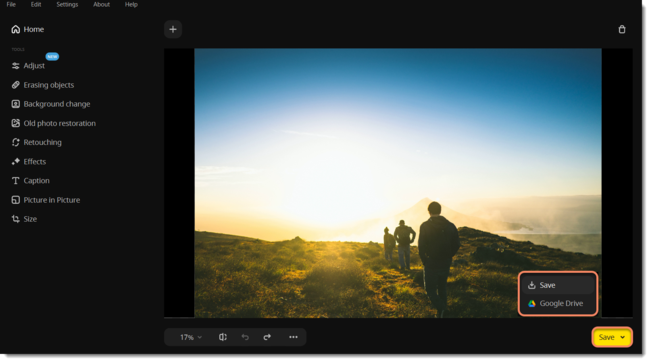
Click Save on the bottom panel. From there you can select to save a file to your computer or to upload it to Google Drive.
 Or you can open the File menu and click Save to rewrite the previous image. To save the image under a different name, click Save As…
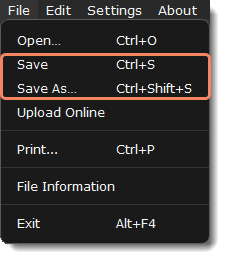
-
You will see a saving window.
-
Choose where the file will be stored in the Save as field. Click Browse to open Windows Explorer.
-
Choose the File type from the list.
-
The Show file in folder after saving option automatically opens the output folder in Windows Explorer after saving.
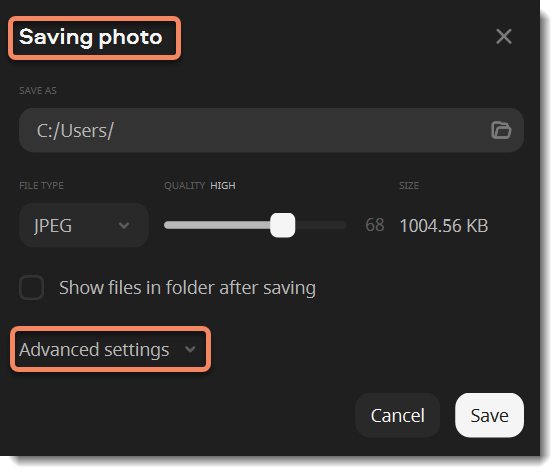
3. (optional) Click the Advanced settings in the saving window to open the additional settings.
-
Add an author and a comment to your photo.
-
Select the Remove all metadata checkbox If you don't want the file to store any additional information
-
Select the Remove GPS data checkbox if you don't want the photo to store any location information.4. Click Save

