|
|
Highlight and conceal
Using the Highlight and Conceal tool, you can mask your 360° camera's blind spots or stitching points, as well as bring attention to objects on screen or hide sensitive information.


Step 1: Open the Highlight and Conceal tool
1. On the Timeline, select the clip that you want to edit.
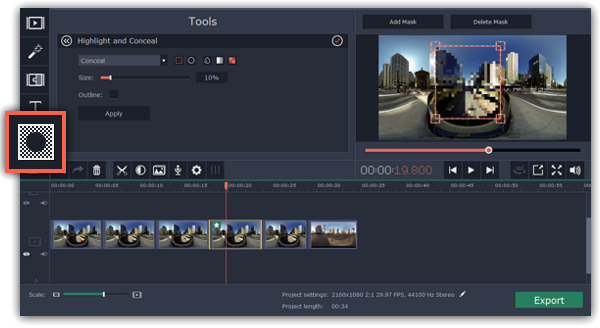
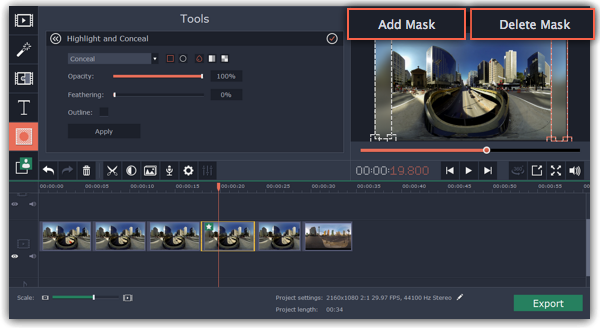
2. On the left sidebar, click the Highlight and Conceal button. The tool's options will open, and a frame will appear in the player. While editing masks, the player will appear in equirectangular mode so that you can see the entire frame.
Step 2: Set up the mask
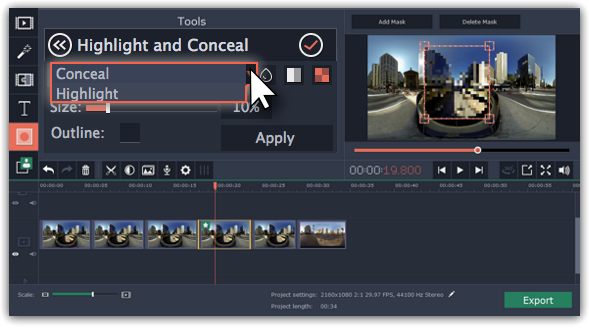
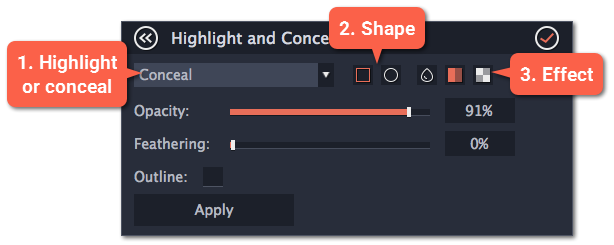
1. In the Highlight and Conceal tool, open the box and choose Conceal if you want to hide something, and Highlight if you want to bring attention to it.
2. Choose a shape for the mask: you can use a rectangle or an ellipse.
3. Choose a masking effect: blur, matte (black cover-up) or pixels. Use the options below to fine-tune the mask:
-
Opacity – makes the mask more transparent (for matte and blur)
-
Feathering – makes the edges of the mask softer (for matte and blur)
-
Size – changes the size of the pixels (for pixel masks only)
-
Outline – adds a white outline around the mask.
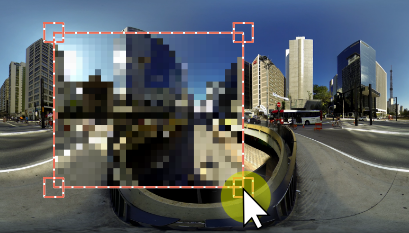
4. In the player, drag the corners of the mask to change its size and shape, and drag by the center of the mask to move it on top of the object.
Step 3: Add more masks (optional)
If you want to cover up or highlight more than one object, click Add Mask above the player to create another mask, and you can now set it up the same way as the first. The selected mask is highlighted orange in the player.
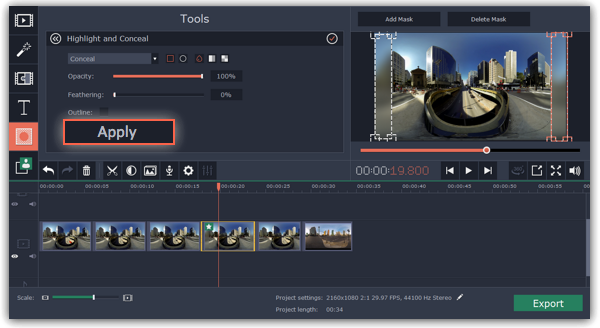
Step 4: Apply the changes
When you're done, click Apply on the Highlight and Conceal panel to finalize the changes.
