| Movavi Slideshow Creator :: Working :: Adding
photos
|
To start creating a slideshow, you should first add photos or
graphic files to Movavi Slideshow Creator. Movavi Slideshow Creator
supports all popular graphic formats.
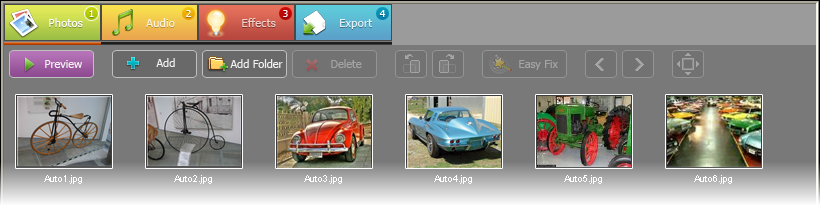
To add photos to a slideshow:
- Click the Photos tab of Movavi Slideshow
Creator.
- Click the Add button on the toolbar and select
photos you want to add. If you want to add the whole content of a
folder with photos, click the Add Folder button
and select a necessary folder in the tree.
- To sort photos in the order they should be displayed, simply
click a necessary photo and drag it to a desired position in the
list. To pass to a photo you need, use the Go to Next
Photo and Go to Previous Photo buttons on
the toolbar.
To delete a photo, select it and click the
Delete button on the toolbar.
Back to Working
© MOVAVI
|

