|
|
Importing AVCHD video
Follow the steps below to import previously recorded videos from an AVCHD camera.
Step 1:
Connect the camera you want to capture from to the computer, and enable USB connection mode on your camera. Make sure that the system recognizes the device and that it is working correctly.Step 2:
On the Import tab of the Video Editor, click Record Video. The recording module will open in a separate window.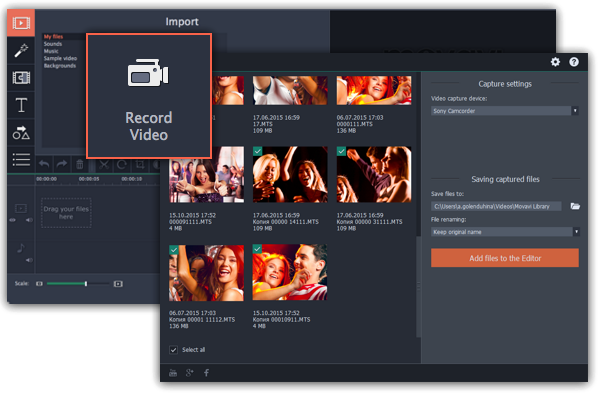
Step 3:
In the Video capture device box, select your AVCHD camera.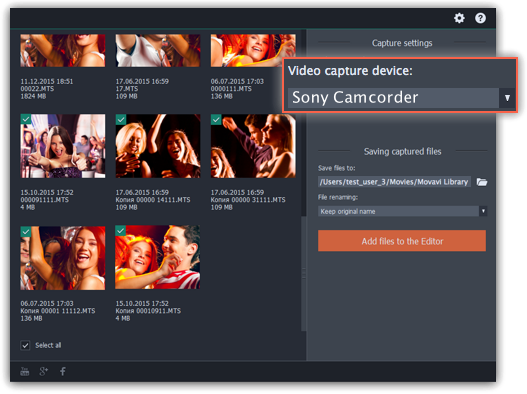
Step 4:
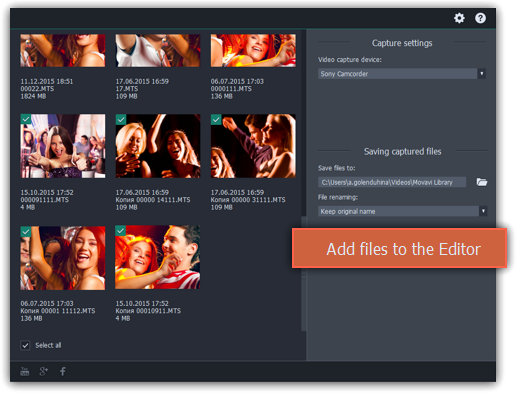
On the left, you will see a list of all clips on the camera storage. Review the files and deselect the ones you don't need.
Step 5:
(Optional) After importing, the files will be saved to your Movavi Library folder. If you want to save them somewhere else, click the folder buttonStep 6:
(Optional) If you want to batch rename the files, choose a renaming option from the 'File renaming' box and set up the new file name template.Step 7:
Click Add files to the Editor to start copying the files. This may take a while depending on the size of the videos.